|
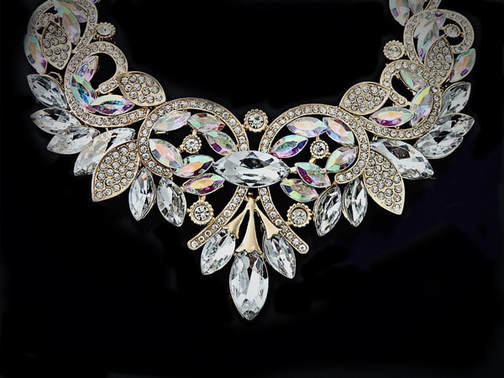
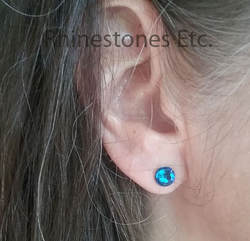
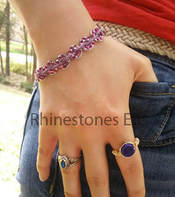
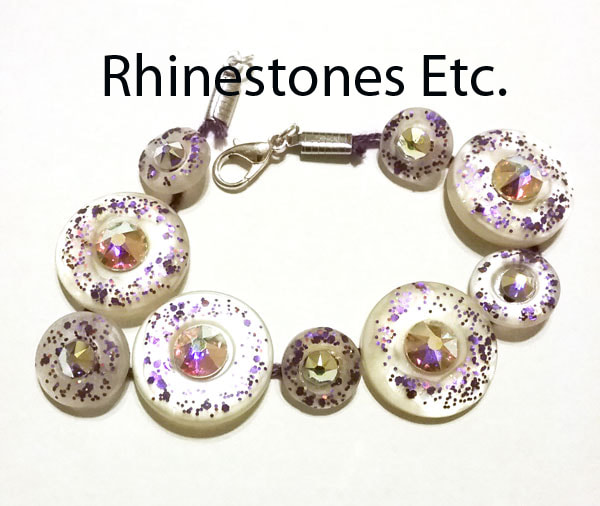
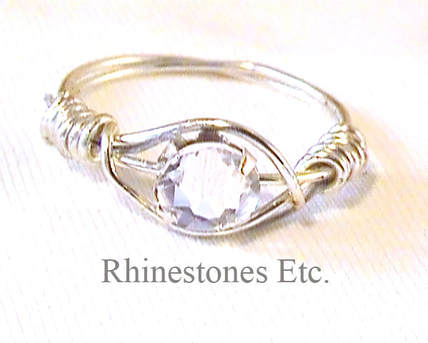
Imagine a Christmas tree without decorations, or a wedding cake with no icing. Just as you expect ornaments at Christmas and fancy icing decorations at a wedding, jewelry is the finishing touch. Think of what the Oscars would be without all those glittering jewels. Unfortunately, real gemstone jewelry is quite pricey and unaffordable for most of us. Rhinestone jewelry is a lot less expensive and can really add the finishing touch to an outfit. But buying a new piece of jewelry each time you buy a new outfit can be expensive. Also, even buying multiple pieces of costume jewelry for each outfit can really put a dent in your budget. However, you can make your own rhinestone jewelry saving yourself a bundle of money. And using rhinestones to make jewelry is easy, fun and adds that touch of sparkly elegance. History of Rhinestone Jewelry Georg Friedrich Strass is credited with inventing the rhinestone. This new imitation gem could take the place of precious gems in jewelry making without sacrificing any sparkle, and it cost a lot less than diamonds. Whereas Strass made jewelry more affordable, Coco Chanel made it fun to wear costume jewelry. Until Chanel arrived on the fashion scene in the later 1920s, only the wealthy could afford jewelry. Jewelry was made nearly exclusively with precious stones and fine metals. Even still, the high cost of jewelry meant even wealthy women could only wear one to two pieces. Meanwhile, costume jewelry was a sort of style faux-pas. It was looked-down upon as being only for women who couldn’t afford the real thing. Chanel was an innovator in many aspects of fashion and she made it fashionable to wear fake jewels. Many of her signature pieces feature rhinestones. Some DIY Rhinestone Jewelry Pieces Definitely, rhinestones add that look of extravagance of precious gems without the steep price tag. Moreover, even if you are not experienced in jewelry making, there are some simple pieces you can make. Glue a large rhinestone (30ss) to an earring backing to make a pair of rhinestone studs. Punch a small hole in pieces of shaped balsa wood and glue rhinestones to it. Then, attach a jump ring and earring wires for a different style of earrings. Use different components in making bracelets. Fabrics, buttons or washers make great surfaces to glue rhinestones to. Wire wrapped jewelry is also quite popular. Rhinestones can be wrapped with jewelry wire to make pendants, bracelets and rings. There are so many possibilities for DIY rhinestones jewelry! All of these were inexpensively made and simple to do. See what you can create using rhinestones. Need rhinestones for your jewelry project? Rhinestones Etc. has competitive prices and excellent customer service.
10 Comments
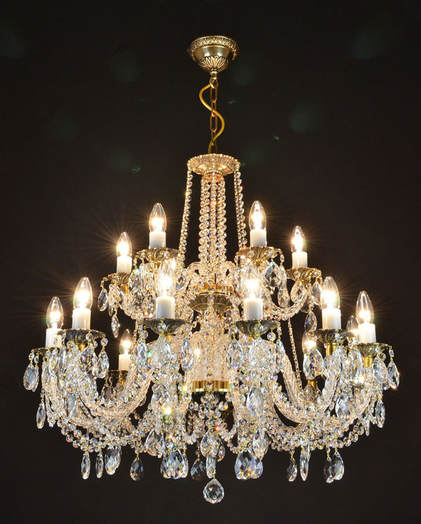
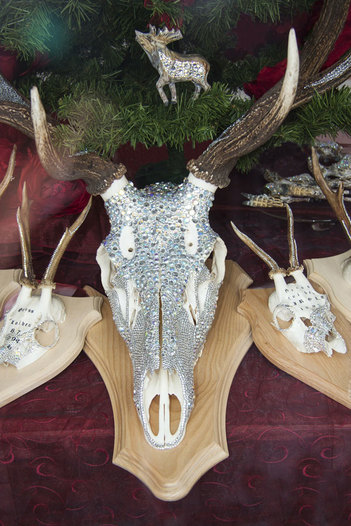
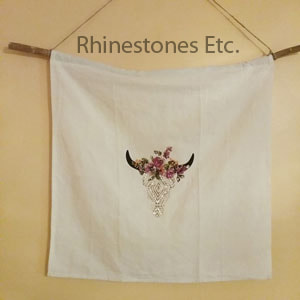
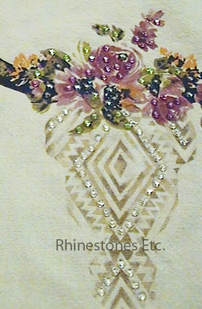
As you walk through your house, you notice an area that’s a bit drab. It has a blah kind of feeling. You want to give the area a new feeling and to make a statement. A new coat of paint is an option as is a new wall hanging. However, there is another option, one that will make light dance and your room dazzle: flat back rhinestones. These can be incorporated into any interior design project to make a room sparkle. The Earliest Use of Rhinestones in Interior Design Rhinestones have been used for centuries in interior design. The earliest is the use of crystal is in chandeliers in the 16th century. Because the crystal was so expensive to manufacture, only the very rich were able to afford them. In the 18th century, methods were devised to make crystal more cheaply thus making chandeliers more affordable. During this time also, Daniel Swarovski started producing cut stones for ornate crystal chandeliers. Even today, the Swarovski name is known for its excellence in crystal manufacturing. Today, chandeliers are hung to produce a distinct feeling of elegance. Step into any room with a chandelier and you step into a room that feels opulent and luxurious. Light passing through the crystals, refract to produce a rainbow of colors that dance in the room. But, why stop at chandeliers? Ideas for Easy Projects There are many easy rhinestone projects in interior design that a beginner can do and achieve good results. Also, flat back rhinestones can be glued to a variety of surfaces: wood, metal, fabric, paper. For example, flat back rhinestones can be glued to frames, including picture and mirror, lampshades or wall hangings. Glue some rhinestones to pillows for your couch. Add a bit of sparkle to your table by embellishing a pair of candlesticks with rhinestones. How about deer antlers? Now that makes a bold statement. Never glued rhinestones before? It’s easier than you think. Mainly, you just have to be sure you have the right glue to for the surface you are working with. You can read up on rhinestone adhesives here. Finally, if you really want an extravagant touch, Swarovski even makes wallpaper with rhinestones attached to it. Hang it on a wall for a dramatic flair. Since the price is a bit steep for this interior design idea, why not glue rhinestones onto wallpaper yourself? Use your flat back rhinestones and creativity to create the perfect living space for you. Utilize your surfaces with sparky rhinestones to customize your interior! Need rhinestones to get started on your interior design project? Rhinestones Etc. has competitive prices and great customer service!
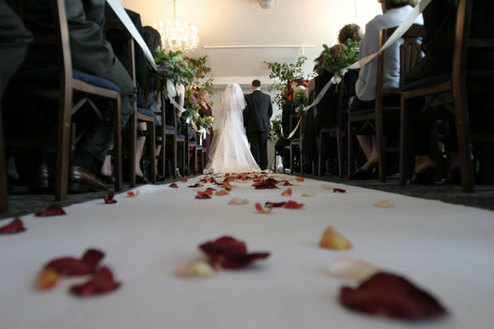
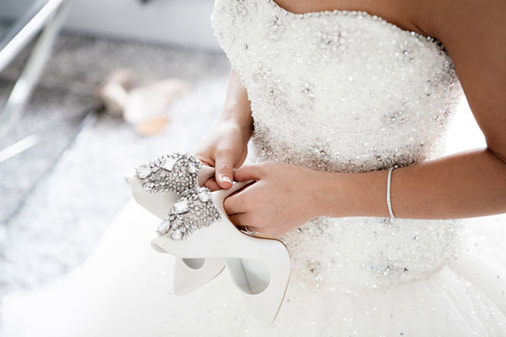
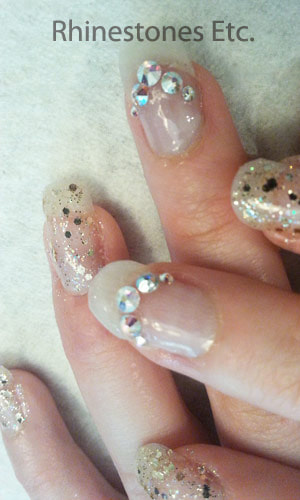
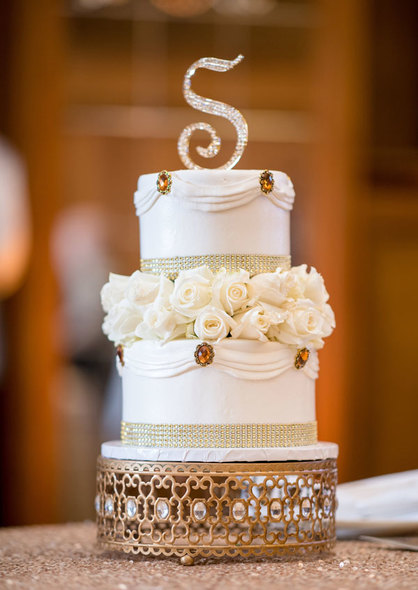
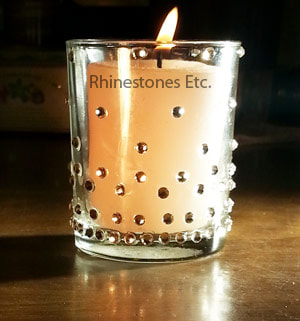
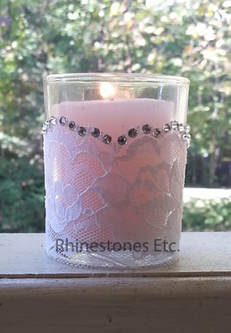
Usually, glitz and glamour are a fundamental part of a wedding. Yet, achieving a magical atmosphere often comes with a hefty price. However, by DIYing a portion of your accessories, you can save yourself a bundle. For a dazzling display of light, add rhinestones to your dress, shoes, invitations, and cake topper. We’ve got some great blinged out wedding suggestions so you can sparkle on your special day. Blinged Out Wedding Dress and Shoes Most couples have a budget to work within when planning their wedding. However, one place a bride wants to splurge a bit is with her dress. Every bride wants to know she looks stunning and she has the perfect wedding dress. Yet, elaborately embellished wedding gowns may cost several thousand dollars. Instead, you can attach rhinestones to a plain dress and spend a lot less. Many simple, but elegant gowns are available for a few hundred dollars. Rhinestones, depending on the manufacturer, size, and quantity, may cost you an additional $10-$100. Another place to save money is to rhinestone your shoes. Why spend a lot of money on an expensive pair of shoes you’ll only wear once? Once again, buy yourself a plain pair and plan to add rhinestones. It’s easy to glue rhinestones! First, make sure the manufacturer recommends using their adhesive for your project. Also, remember to let a bit of adhesive seep out around the edges of the rhinestone when gluing. This makes a seal that helps to keep the crystal firmly attached. You can read more about gluing rhinestones here. Rhinestones Nails Usually, many brides will get a manicure for their wedding day. Between pictures and guests wanting to see your ring, you want your hands to look great. While a French Manicure is pretty, adding rhinestones gives you extra twinkle and shimmer. Plus, you don’t need a professional nail technician to add rhinestones to your nails. Other ideas To Create a Blinged Out Wedding Often, the wedding cake is the centerpiece at the reception. Certainly, you can make your cake even more impressive with a sparkly cake topper. Begin by searching the internet to find a free downloadable template or design one yourself. Cut the shape out of heavy-duty material using scissors or an X-Acto knife. Then, glue small rhinestones to your topper design. Additionally, you can embellish toasting glasses, wedding favors, or table centerpieces. For example, a votive candle holder covered with rhinestones makes a nice favor. Moreover, you can add a little bling to invitations, menus, and seating cards. Of course, these are just a few ideas to make your wedding sparkle. Rhinestones are extremely versatile allowing plenty of creativity. Be inventive and see what other ideas you can come up with to make the wedding of your dreams. Ultimately, you’ll need rhinestones to create a blinged out wedding. Rhinestones Etc. has been selling quality embellishments since 2011. With fast shipping, competitive pricing, and great customer service, we want to be your source for bling!
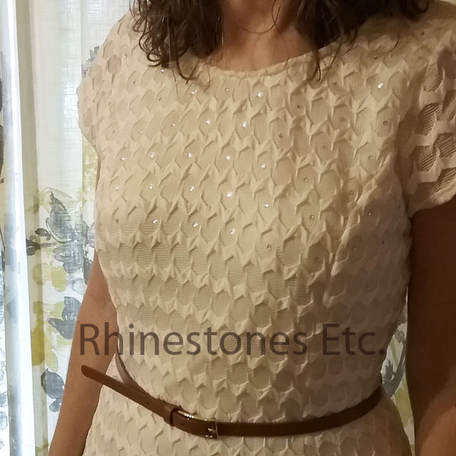
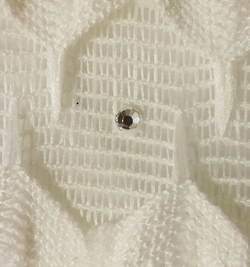
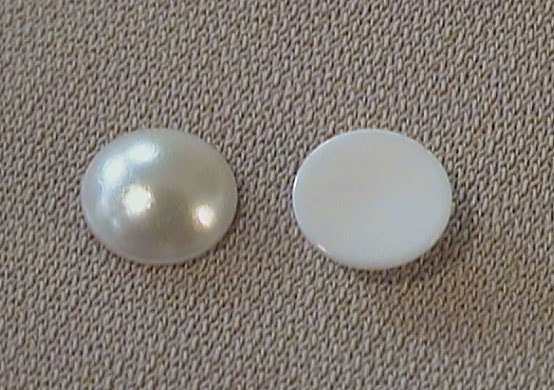
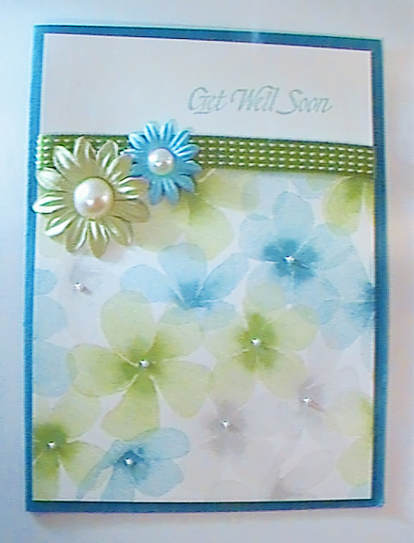
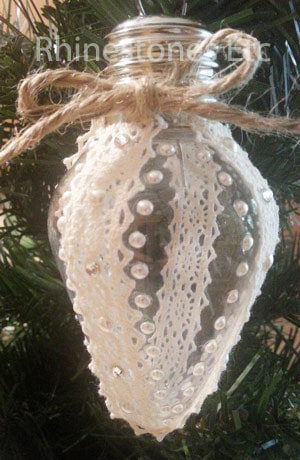
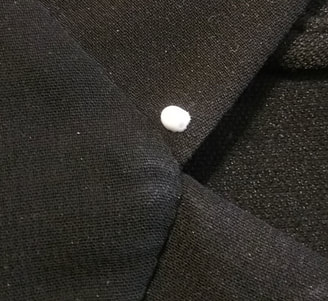
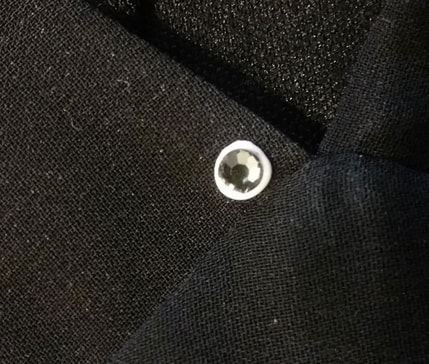
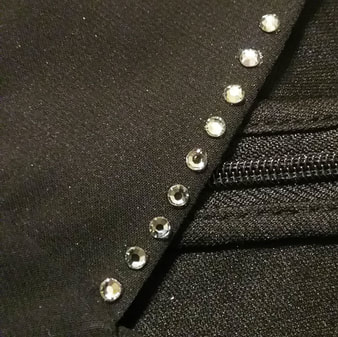
Fashion changes often, making keeping abreast of the latest fad expensive. Yet, the holidays are just around the corner, and with it all the holiday parties. Wearing the same outfit as last year is a fashion no-no, yet you can’t afford another fancy dress. Changing your outfit up by adding bling is an easy solution. Moreover, with many different manufacturers, it’s easy to find rhinestones for clothing. Stay Trendy by Creating a Rhinestone Dress However, you can look great without spending a bucket of money. You can refresh an old dress by adding rhinestones for a new vibe. Additionally, you can pick up a simple dress on clearance or at Goodwill. With some sparkling rhinestones, your dress will become elegant. How to DIY Rhinestone Dress I picked up a simple dress for $15. Your cost for bling will change based on your choice of manufacturer and your quantity. Additionally, rhinestone pricing varies considerably depending on the size and color. While many consumers prefer brand names crystal, you can find some less expensive high-quality rhinestones on the market. The next step is to choose your adhesive. When choosing your brand, check the manufacturer’s instructions to make sure the glue dries clear, is washable. Moreover, confirm the glue is suitable for your type of rhinestone. For example, some adhesive manufacturers advise against using their glue for acrylics. For this project, I used 12ss crystal PriceLess Rhinestones. Since the dress already had a pattern, I offset the rhinestones in between the pattern of the dress. Gem-Tac is the brand of glue I prefer for clothing for its ease of application. Before you start applying rhinestones, wash and dry your garment. When you’re ready to glue, lay your garment on a flat surface. If the material is sheer, place a piece of wax paper between the layers to avoid gluing the fabric together. Begin by placing a drop of glue slightly smaller than the rhinestone on the garment. Pick up a rhinestone using a wax-tipped tool or tweezers. Gently press the rhinestone into the glue drop. Some of the glue should seep out from the edges. This makes a seal and helps prevent the rhinestone from peeling off. Continue gluing rhinestones in this manner. When done, allow to dry flat for 24 hours. Use Rhinestones for Clothing Other Garments, Too! Even adding just a small amount of rhinestones makes a huge difference in this dress. And you now have a glamorous, fashionable dress without going over budget. Moreover, you can use rhinestones for clothing other than dresses! You can add rhinestones to shirts, jeans, shoes, and even accessories like belts and handbags. Plus, you can experiment with different sizes and colors to create a different look each time. Stay trendy and fashionable and save yourself a pile of money by adding bling! FAQs About Rhinestones If you’re just starting with rhinestones, you may be confused by all the different types on the market. To help you make the best choice, we’ve answered some of our most commonly asked questions. Should I Buy The Most Expensive Brand? It depends on the type of project you’re rhinestoning. For example, you may want to use a name brand for your wedding dress. However, you may want to use a less expensive brand for your handbag. How Many Rhinestones Will I Need? Typically, your quantity depends on the look you want to achieve and the size of your rhinestones. Will you be creating large spaces between the rhinestones or placing them close together? Generally, too, smaller rhinestones sizes cover less area requiring more. If you need help determining the amount you need, drop us a note here, and we’ll be glad to help you. Does It Matter Where I Buy My Rhinestones? If you want quality rhinestones at competitive prices, great customer service, and fast shipping, buy from Rhinestones Etc. For over 10 years, we’ve been selling quality embellishments online. We’ve talked quite a bit about different aspects of rhinestones, their sparkle, facets and sizing. However, sometimes you want to add elegance and not sparkle. There is another embellishment which gives an opulent luster to your projects. I am talking about flat back pearls, also known as half back pearls. These pearls are rounded on the top with a flat back. This enables them to be glued to any flat surface. They are sized in the same way that rhinestones are sized, by “ss”. The “ss” size is usually accompanied by a millimeter size if you are unfamiliar with the “ss” sizes. You can read all about sizing here. Gluing flat back pearls is simple, exactly the same as rhinestones. You’ll want a drop of glue slightly smaller than the pearl. When you press the pearl into the glue, some of the glue should seep out from the sides. Doing so provides a seal that keeps the pearl from peeling off. Like rhinestones, there are different manufacturers of flat back pearls. Some are made from plastic or acrylic components. And they are available in an array of colors. In addition, the price of flat back pearls depends on the material it is made from and the manufacturer. Swarovski, the premier brand of rhinestones, makes flat back pearls as well. Their pearls are made with a crystal core covered by a unique coating technology developed by Swarovski. Moreover, this innovative technology gives their pearl a mysterious glow, which appears to be radiating from within the pearl itself. Also, Swarovski offers many colors as well as the traditional white. Flat back pearls can be used anywhere you would use rhinestones. Add romance to your wedding dress by gluing on flat back pearls. Dress up a pair of shoes. Embellish a Christmas ornament. Add a pearl or two to a handmade card for an extra special touch. Need some bling supplies for you next project? Rhinestones Etc, has a large selection, competitive pricing, and great customer service. It’s been a difficult year financially, yet the Holiday party is just around the corner and you want to sparkle. You’ve looked at many rhinestone dresses but can’t afford any of them. Dresses found at any type retail store with serious bling will cost you in the hundreds of dollars. However, you can save yourself a bundle by buying a plain dress and embellishing it yourself. Embellishing a dress with rhinestones can be done, even with someone with no experience. Take this dress picked up on clearance. Although it’s a pretty dress with the floral print on the bottom, there nothing to really catch the eye. We’ll transform this dress into a “get another look at that dress” just by adding rhinestones. Dress bought on clearance $35 Retail cost of rhinestones: $11-14 depending on the brand of rhinestones and retailer Glue: $ 8.99 - $9.99 for 4 oz Total cost: $60.00 Instructions for Gluing a Rhinestone Dress For this project I used: dress Gem tac Black Diamond 12ss rhinestones about 1 gross Jet Hematite 12ss rhinestones about 1 gross Wax tipped tool or tweezers Measuring tape Always prewash your garment before starting to glue. Once it is washed and dried, lay it flay on your work surface. If the material is thin, place a piece of wax paper between fabric to prevent gluing the layers together. Here, I used black diamond rhinestones along the strap edges spaced ½ inch apart. You can use a tape measure to keep the rhinestones evenly spaced it you want. Jet hematite rhinestones completed the design scattered on the straps and bodice. These were glued closer together along the straps and bodice. I space them further apart lower on the bodice. When gluing fabrics, my favorite glue to use is Gem-Tac. It is easy to apply, dries clear and is washable. Begin gluing by placing a drop of adhesive slightly smaller than the rhinestones on the dress. Using a wax tipped tool or tweezers, pick up a rhinestone and gently press it into the glue drop. The glue should seep out slightly from the edges. This creates a seal and helps prevent the rhinestone from peeling off. Gem-Tac dries clear and using the little bit of extra glue to keep your rhinestones from falling off is important. Continue to glue rhinestones on until your design is complete. Then, allow to dry flat for 24 hours. A picture does not capture the stunning sparkle of this dress. With every movement, light is reflected, creating a dazzling aura. Now you are sure to catch some eyes with this rhinestone dress while saving yourself a pile of money. Want to sparkle at your Holiday party? Need rhinestones to bling out your dress? Get the rhinestones you want at Rhinestones Etc.
|
KarenI have been adding bling for over 20 years. Through my projects, I hope you find inspiration. Categories
All
Archives
July 2024
|
Home About Policies Return Shipping
Contact Us Size Chart Privacy Products Reviews
Copyright 2024 Rhinestones Etc. All rights reserved.
Contact Us Size Chart Privacy Products Reviews
Copyright 2024 Rhinestones Etc. All rights reserved.




 RSS Feed