|
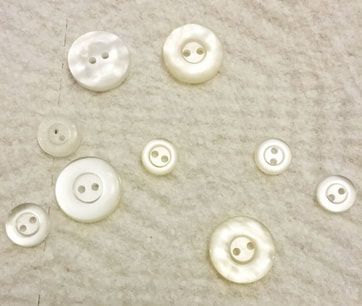
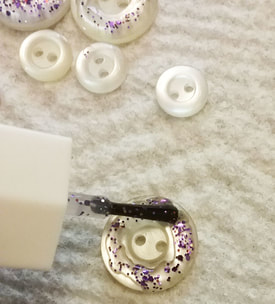
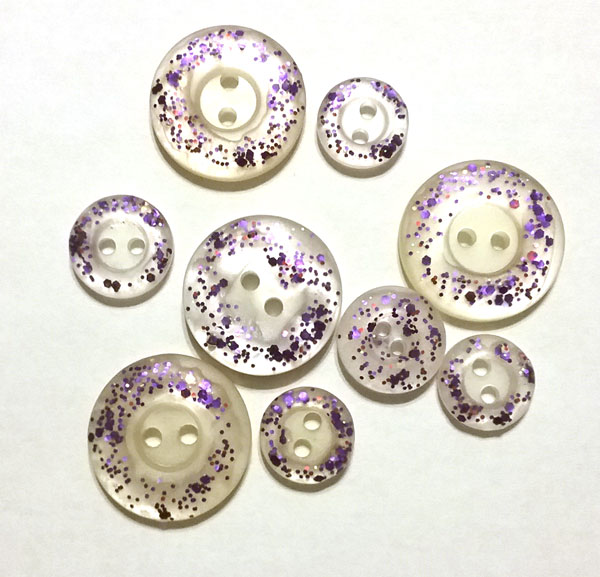
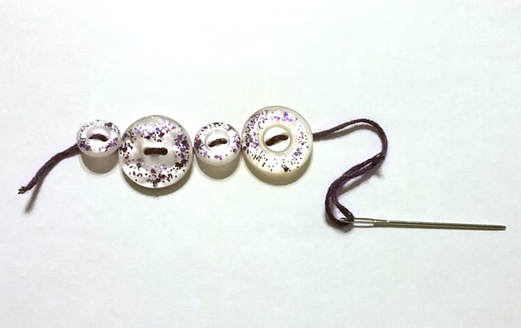
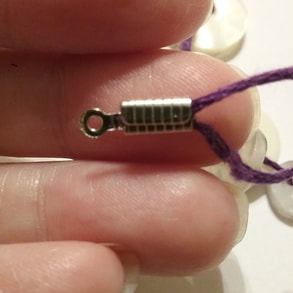
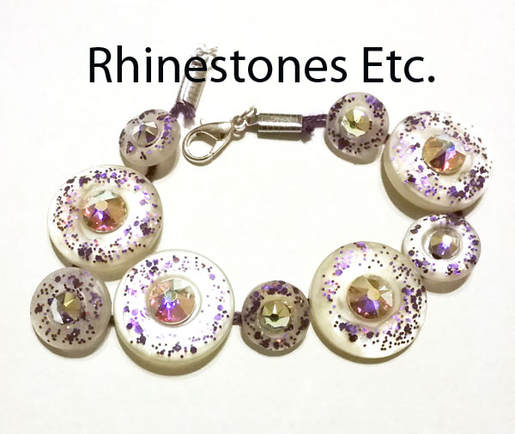
Sometimes, you can take simple components and make a truly stunning DIY creation. For example, take buttons: most people have some laying around and if not, they are inexpensive to buy. Simply, paint on glitter nail polish, string together with string or wire, glue on some rhinestones and just like that, you now have a very pretty bracelet perfect to add sparkle to your wrist. To do this project I used: Various size buttons Glitter nail polish Krylon acrylic coating Embroidery thread E6000 34ss and 20ss Crystal AB rhinestones 4 mm jump ring Lobster claps Cord end caps Jewelry pliers. Tweezers or wax tipped tool Instructions for a DIY button bracelet You can use all the same size buttons or vary the sizes, whichever style you prefer. I used purple glitter nail polish but there are many colors available at your local beauty supply store. Paint the tops of the buttons making sure you don’t paint over the button holes. Let the nail polish dry completely. To protect the nail polish from chipping off, spray a coating of Krylon Acrylic coating on the buttons. If you want, you can apply more than one coat, allowing to dry completely between coats. Cut a piece of complimentary embroidery thread about 12 inches long. Thread a sewing needle with all six strands. Starting underneath, sew the buttons together. Using a cord end cap, place one end of the thread in the cap leaving a one-inch tail. Fold over one side of the cap. Place the tail in the cap folding the thread and then folding over the other side of the cord end cap. Cut the excess tail thread. Measure your wrist to a comfortable fit. Cut the other end to this length and add the cord end cap to the other end. Add a jump ring and lobster clasp to one end and a jump ring to the other. Lay the bracelet flat. For the larger buttons, I used 34ss rhinestones and the smaller buttons I used size 20ss. Place a drop of glue smaller than the rhinestone on the middle of the button. Follow the glue manufacturer’s instructions. Using a wax tipped tool or tweezers, gently press the rhinestones into the glue drop. Continue gluing until all of the buttons have a rhinestone, then allow to dry flat for 24 hours. Buying new jewelry every season is expensive, but with this DIY button bracelet, you’ll have a sparkle bracelet perfect for the fall. Wear it for formal or casual occasions, either way, you’re sure to make a sparkly statement! Rhinestones Etc. want to be your source for bling supplies. Browse our selection to find your color.
0 Comments
Your comment will be posted after it is approved.
Leave a Reply. |
KarenI have been adding bling for over 20 years. Through my projects, I hope you find inspiration. Categories
All
Archives
July 2024
|
Home About Policies Return Shipping
Contact Us Size Chart Privacy Products Reviews
Copyright 2024 Rhinestones Etc. All rights reserved.
Contact Us Size Chart Privacy Products Reviews
Copyright 2024 Rhinestones Etc. All rights reserved.

 RSS Feed