|
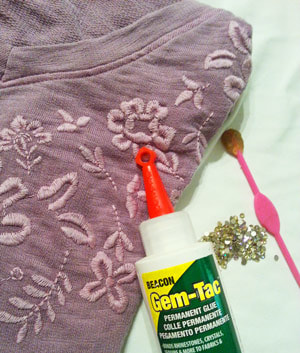
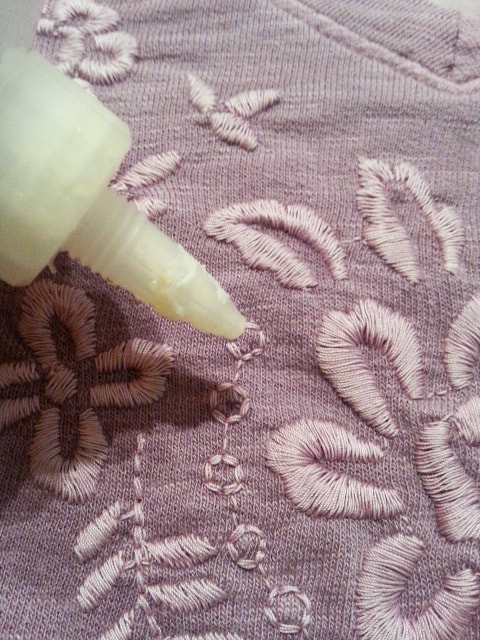
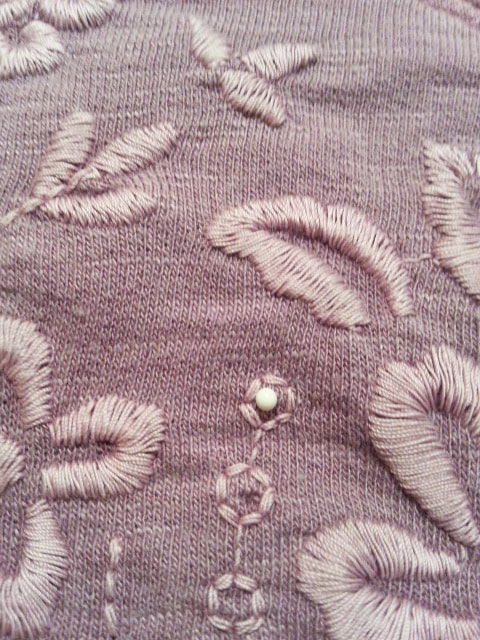
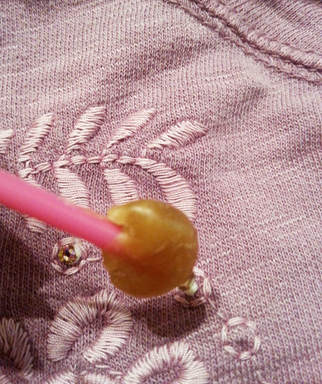
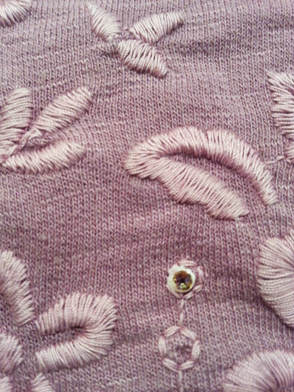
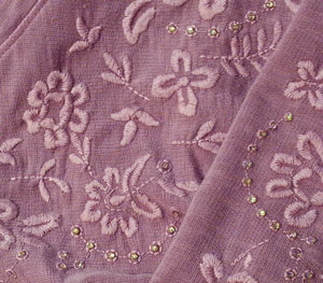
How to glue rhinestones Want to feel beautiful and confident even if you buy clothes off the rack? Anything can be enhanced by adding rhinestones. Embellish an ordinary shirt off the rack, add your own style, and it will be uniquely you! For this project I used: 1 shirt 12ss Luminous Green rhinestones Gem Tac Wax tipped tool The Luminous Green rhinestone is a pale green with underlying lavender so depending how the light hits the rhinestone it sparkles green or pale purple. The shirt I want to rhinestone is lavender with decorative embroidery. I want to add sparkle while highlighting certain areas of the shirt. The underlying lavender would blend with the color of the shirt while adding sparkle and the pale green would highlight the sections of embroidery I want to draw attention to. This is often how I choose what colors of rhinestones to use. Choosing a rhinestone the same color as your shirt will add sparkle while choosing a contrasting color adds highlight and sparkle. I also chose a smaller size rhinestone because I wanted to add just a small amount of sparkle. Pre-wash and dry your shirt before you begin. Lay your shirt on a flat surface. My shirt has small circles of embroidery that the rhinestone fits inside and this is where I chose to rhinestone. Place a drop of glue slightly smaller than the rhinestone on your shirt. Using a wax tipped tool or tweezers, pick up a rhinestone and place it in the glue drop, gently pressing down. Some of the glue should seep out from the edges. This is perfectly fine as it creates a seal and helps prevent the rhinestone from peeling off. Continue gluing rhinestone and then allow to dry flat for 24 hours. Just the perfect amount of sparkle and color to catch attention without overpowering. This shirt is great for everyday wear!
Rhinestones and wax tipped tool are available from: www.RhinestonesEtc.com
0 Comments
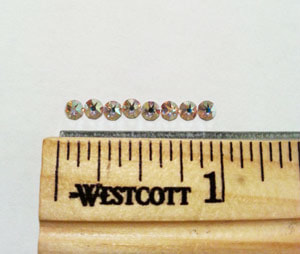
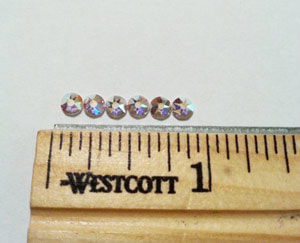
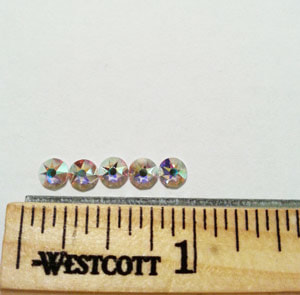
One of the most frequent questions I get from customers is “how many rhinestones will I need?” There is a mathematical formula (Yes, I see your eyes rolling and hear the groans!) For a straight line of rhinestones: Step A. Multiply the number of inches by 25.4 Step B. Then divide by the millimeter size of the rhinestone. So for: 3.1 for 12ss (3.1 is the mm size for 12ss rhinestones) 3.9 for 16ss (3.9 is the mm size for 16ss rhinestones) 4.76 for 20ss (4.76 is the mm size for 20ss rhinestones) But how is this applied? Let’s explain with pictures. Here’s a picture of a line of 12ss rhinestones against a ruler. Step A - The number of inches is 1 multiplied by 25.4 = 25.4. Step B – Divide by 3.1 for size 12ss rhinestones. 25.4 divided by 3.1 is 8.19 or eight rhinestones and as you can see from the picture, 8 size 12ss rhinestones fit into 1 inch. Here’s a picture of 16ss rhinestones. The number of inches – 1 x 25.4 = 25.4. 25.4 divided by 3.9 equals 6.51and as you can see 6 size 16ss rhinestones fit into one inch. Here’s a picture of 20ss rhinestones. 1 inch x 25.4= 25.4. 25.4 divided by 4.76 equals 5.33 and again you can see there are 5 size 20ss rhinestones that fit into 1 inch.
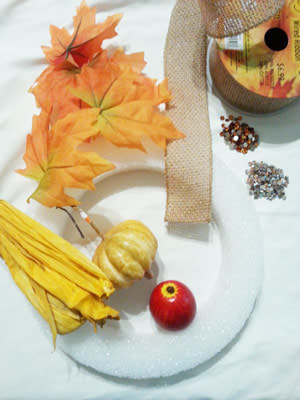
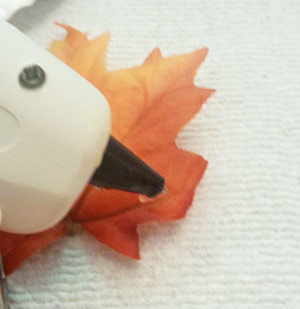
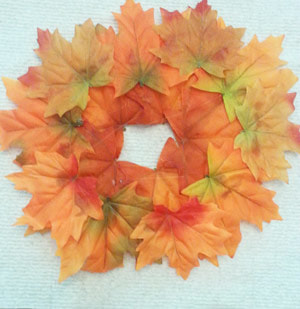
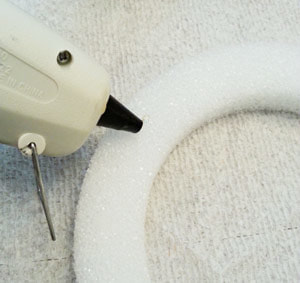
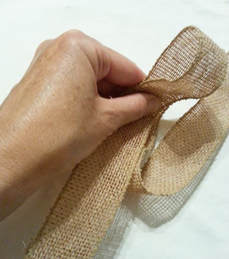
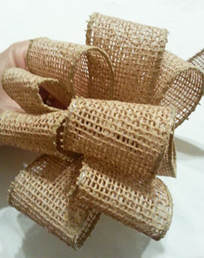
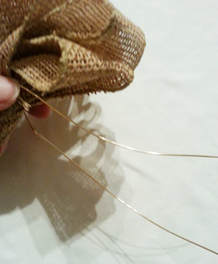
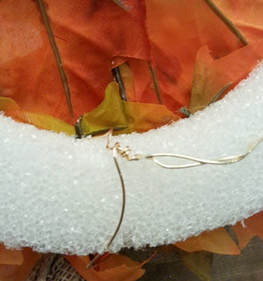
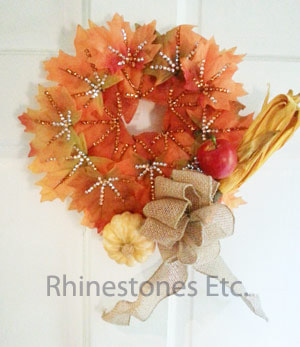
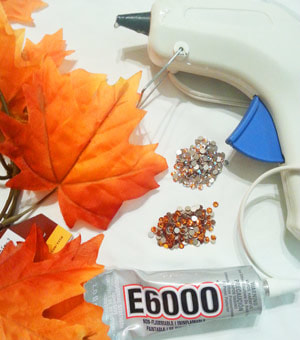
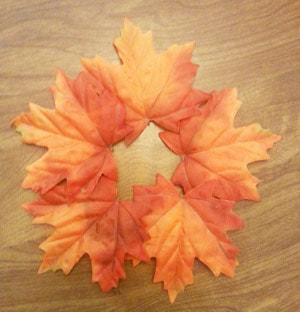
For more than one inch, just plug in the number of inches into the formula. If you are still having trouble trying to figure out how many rhinestones you will need, use the contact form with your questions and we’ll do our best to assist you. How to make an autumn wreath Your front door says a lot about you. Show off your personality with a simple, do it yourself wreath. Get ready for the upcoming holidays with this easy festive personalized wreath! For this project I used: Dollar tree leaves Glue gun Styrofoam ring about 8 inches in diameter 16ss rhinestones in colors Topaz and Sunflower AB E6000 Burlap ribbon Assorted fall floral and craft small craft pumpkins This wreath begins the same as my previous post, Rhinestone Autumn Leaf Table Centerpiece. Begin by cutting the leaves off the plastic vine. Decide on a circular arrangement and the size of your centerpiece: I put bigger leaves on the bottom and smaller leaves on top overlapping each other and kept the circumference to about 9 inches around the outside and about 2 inches on the inside. Using a hot glue gun, glue the leaves together beginning with the bottom leaves. Once the leaves are glued together, decide on how you want the rhinestones. I used Topaz and Sunflower AB which complimented the colors of the leaves. I used the darker color of Topaz on the inside leaves and along the darker colors of the leaves and the Sunflower AB along the lighter. Following the veins in the leaves, place a drop of glue about the size of the rhinestone on a leaf and pick up a rhinestone with tweezers or a wax tipped tool. Gently press a rhinestone into the glue drop. When using E6000, I like to squeeze a bit over a paper plate and use a toothpick to scrape up a bit of glue and apply it. Continue gluing and then let dry flat for 24 hours. Using the hot glue gun, squeeze hot glue around the Styrofoam ring and press the leaf ring on. Allow to cool. To make the bow, leave about 2 inches of ribbon on the one end and make a loop. While holding the end of this loop, continue making loops, bunching the bottom of the loops together until you have 8 loops. Take your craft wire, leaving about 2 inches on the end, and begin wrapping it tightly around the bottom leaving. Cut the wire again leaving about 2 inches of wire. Cut the ribbon leaving about 2 inches on each end. Attach the bow to the wreath by slipping one end of the wire between the leaves and Styrofoam and the other end around the back twisting both ends of the wire together to secure and tucking the wire ends into the Styrofoam. If any of your fall floral or pumpkins has wire attached to them, you can slip the wire between the leaves and Styrofoam and secure the end of the wire into the Styrofoam. Any fall craft décor without wires can be attached using a hot glue gun. Trim your door with this easy to make dazzling autumn wreath throughout the fall season.
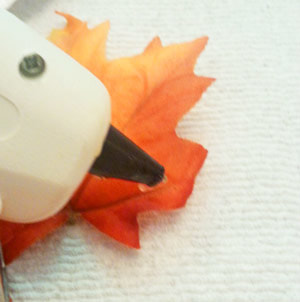
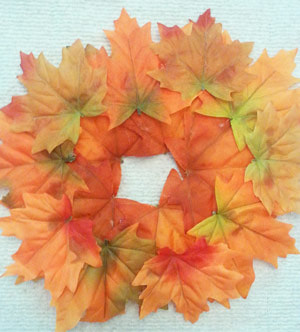
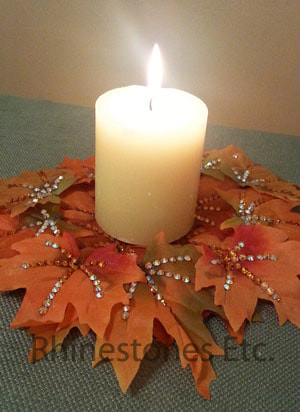
Rhinestones are available from: www.RhinestonesEtc.com How to make an easy Fall table decoration Do you love to entertain family and friends? Do you like to have the table set just so? This easy candle table centerpiece will make any table glow with the colors of the season. For this project I used: Autumn leaves from the dollar store Hot glue gun Scissors E6000 16ss rhinestones in colors of Sunflower AB and Topaz Wax tipped tool or tweezers Pillar candle Begin by cutting the leaves off the plastic vine. Decide on a circular arrangement and the size of your centerpiece: I put bigger leaves on the bottom and smaller leaves on top overlapping each other and kept the circumference to about 12 inches. Using a hot glue gun, glue the leaves together beginning with the bottom leaves. Once the leaves are glued together, decide on how you want the rhinestones. I used Topaz and Sunflower AB which complimented the colors of the leaves. I used the darker color of Topaz on the inside leaves and along the darker colors of the leaves and the Sunflower AB along the lighter. Following the veins in the leaves, place a drop of glue about the size of the rhinestone on a leaf and pick up a rhinestone with tweezers or a wax tipped tool. Gently press a rhinestone into the glue drop. When using E6000, I like to squeeze a bit over a paper plate and use a toothpick to scrape up a bit of glue and apply it. Continue gluing and then let dry flat for 24 hours. Place a pillar candle in the middle and your centerpiece is finished. Super easy and yet strikingly beautiful! This center piece will have any table ready for fall!
Rhinestones and wax tipped tool are available from: www.RhinestonesEtc.com |
KarenI have been adding bling for over 20 years. Through my projects, I hope you find inspiration. Categories
All
Archives
July 2024
|
Home About Policies Return Shipping
Contact Us Size Chart Privacy Products Reviews
Copyright 2024 Rhinestones Etc. All rights reserved.
Contact Us Size Chart Privacy Products Reviews
Copyright 2024 Rhinestones Etc. All rights reserved.


 RSS Feed