|
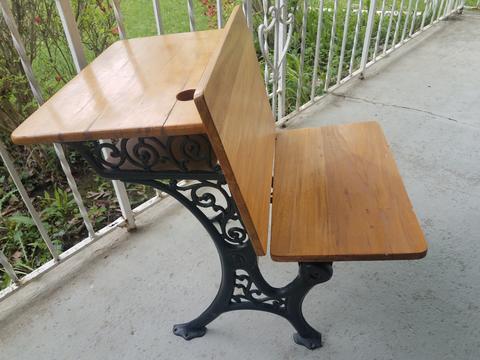
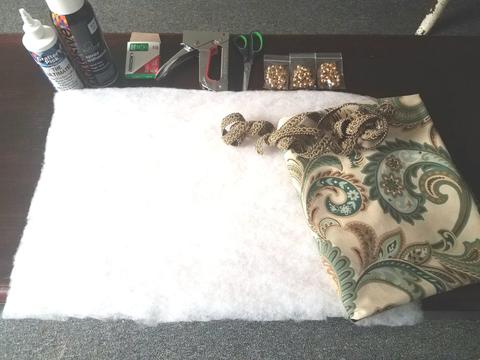
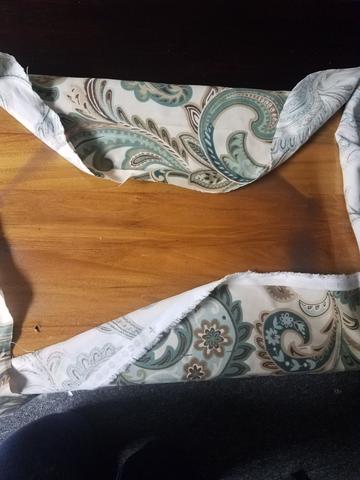
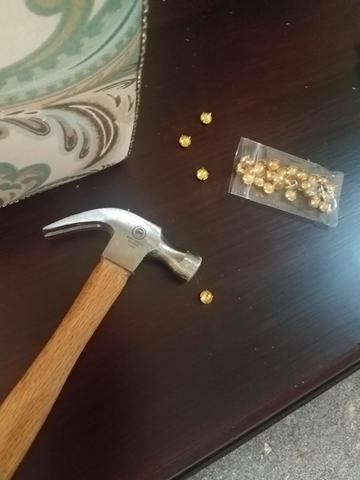
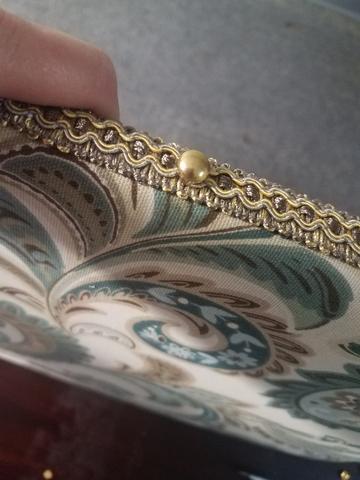
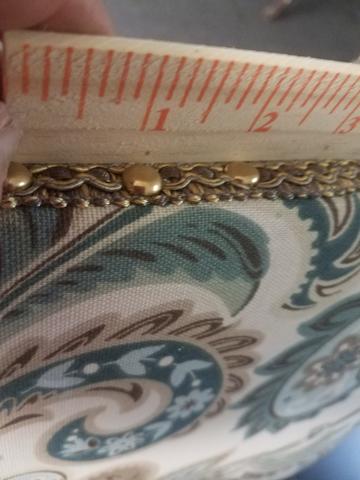
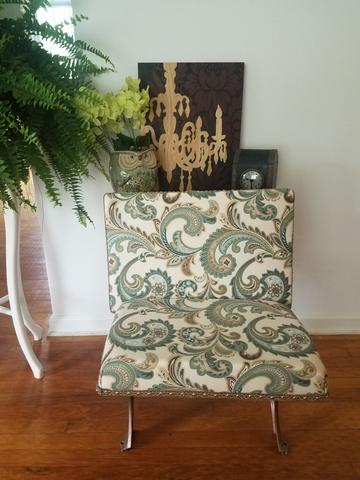
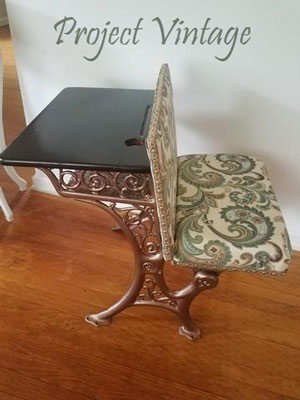
Today, I have my good friend Julie Hickman of Project Vintage writing about her project using nailheads. Her project involves taking an old desk, painting and upholstering the seat to update it. Suspending Disbelief by Julie Hickman “Others have seen what is and asked why. I have seen what could be and asked why not. ” ― Pablo Picasso Part of what I love about finding vintage furniture is that I immediately look beyond what's in front of me. When I stumble across a piece that screams out for my attention, I recognize where it has been. It has most likely been passed down among various family members, given away to friends, survived many moves, sold at garage sales and flea markets until it finally arrives before my eyes. Everyone can see that it is worn. It has the visible scratches, nicks, and dents that come with years of use, but for me, that is only the beginning. The state that it comes in no longer has to be its reality. Suspending the belief that it has to keep its present appearance and imagining something no one else can see is pure fantasy, free from rules or guidelines. A place that only exists in the imagination where nothing is wrong, only different. I met Hope after several exchanges regarding the antique school desk she had listed for sale online. I had seen desks like this one many, many times before, but for some reason, something was telling me to it was the right time to take this one on as a project. There are times when the people selling these items are happy and eager to tell you the history of the piece and other times not. Luckily, Hope was the former and not the latter. It so happened that her husband had kept the desk that was given to him by his father, which was most likely was passed down to him. This desk is in wonderful condition which is always great to see and good to know that it was taken such good care of. That being said, there is no reason why it must stay the same. Opening up to new ideas of what it can be and creating a new reality for this desk is what I love to do. Looking past what I see and replacing it with a dream is an ability I never want to lose. This particular project included some beautiful nailheads that I purchased from Rhinestones Etc., one of my favorite people and favorite shops. Below, I am going to show you just how easy it is to incorporate in any décor. Items you will need: Standard staple gun 5/16" 8mm Universal Fit Staples Acid-Free, High Tack, Multi-purpose Spray Adhesive Quilt batting available at any craft store API's Crafter's Pick Glue 8.54 mm Gold Pearl 4 prong Nailheads (from Rhinestones Etc.) Hammer Scissors 1 yard of fabric of your choice 2 yards of fabric trim Upholstering A Desk Seat After I disassembled the desk, I took the existing backboard and glued on some loose quilt batting to the front using some spray adhesive. I then cut the fabric to surround one side of the backboard. I make sure to cut the fabric a little larger than needed to give myself plenty to work with. Making the fabric taut around all sides is necessary to then staple the fabric in place on the backboard. Once the fabric is stapled in place I then glued the fabric trim completely around the backboard using API's crafter's pick glue. After the trim had adhered to the fabric, which was pretty immediate, I then went to the fun part! Putting on the beautiful gold nailheads I picked up from Karen at Rhinestones Etc. These nailheads were extremely easy to use precisely because they are 4 pronged. These prongs made them steady while reaching for the hammer to tap into the backboard. After putting the first nailhead in place, I then continued tapping in the nailheads at one-inch intervals until I completely surrounded the backboard. Well, there you have it! Using these gold nailheads was just what my project needed to give it that extra sparkle and shine. I'm sure you can find endless ways to incorporate them into your home's decor. This is how my desk project turned out and I couldn't be more pleased to give it a whole new reality. I'll never be able to express all that goes on in my head about the creative process piece by piece, but that's what makes it magic! Julie has this re-imagined desk with new paint and upholstery for sale in her shop along with many other beauties. To see more of Julie's upholstering work or some of her other beautiful creations, visit her shop at: https://projectvintageus.com
Nailheads are available from: www.RhinestonesEtc.com.
0 Comments
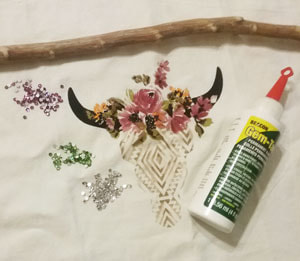
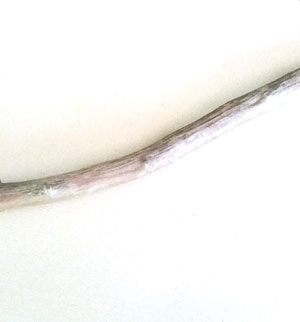
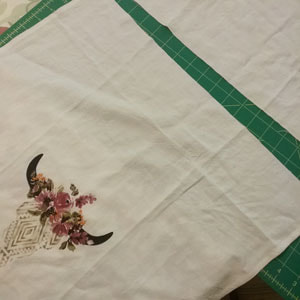
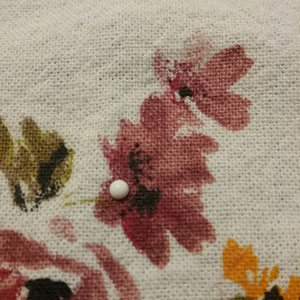
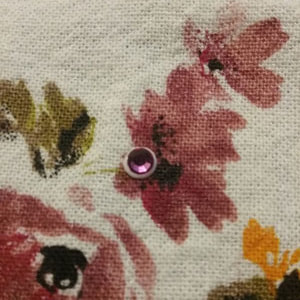
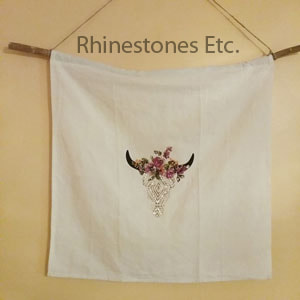
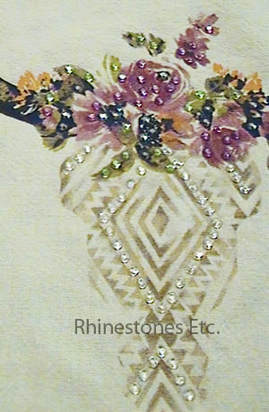
I love to go bargain shopping and leave no clearance bin unchecked. There is no better feeling than finding the perfect item and the perfect price! A few weeks ago, I was out searching for a birthday present for my mom. Outside in a bargain bin was this cotton cloth with a western motif (I think it was a napkin). I didn’t know what I would do with it, but it was only $1, so I couldn’t pass it up. Gluing rhinestones to fabric is simple and the perfect project to make with my new $1 napkin. For this project I used: My bargain cotton fabric with western motif Assorted 12ss rhinestones Wax tipped tool or tweezers Gem tac Branch Sandpaper Sewing machine/needle and thread Jute string Cut a branch about 4 inches longer than the width of your material. I liked the branch of a crepe myrtle, so I cut off a branch about ½ inch in diameter. Sand the entire branch including the edges until smooth. The cloth was too long, so I cut about 1/3 of it off. To prevent the cloth from fraying, I serged the edge and then hemmed it (you can double hem it). Fold this edge down about one inch to make a sleeve to put the branch through. Gluing rhinestones to fabric is easy. I used assorted rhinestone colors to accent the western motif design. Place a drop of glue slightly smaller than the glue drop on the linen. Using a wax tipped tool or tweezers, pick up a rhinestone and gently press it into the glue drop. The glue should seep out slightly from the edges to form a seal and prevent the rhinestone from peeling off. Gem Tac is my favorite fabric glue because it is easy to apply, dries clear and is washable. Continue gluing rhinestones, accentuating different areas. Allow to dry flat for 24 hours. When dry, slip the branch into the top sleeve. Cut a piece of jute sting about 24 inches long. Tie each end to the end of the end of the branch. Simple yet enticing. By gluing rhinestones to fabric it’s easy to take something ordinary and turn it into something extraordinary. This hanging will catch eyes with its simple sparkle and rustic design. Use it to brighten any space! The possibilities are endless!
Rhinestones and wax tipped tool are available from: www.RhinestonesEtc.com |
KarenI have been adding bling for over 20 years. Through my projects, I hope you find inspiration. Categories
All
Archives
July 2024
|
Home About Policies Return Shipping
Contact Us Size Chart Privacy Products Reviews
Copyright 2024 Rhinestones Etc. All rights reserved.
Contact Us Size Chart Privacy Products Reviews
Copyright 2024 Rhinestones Etc. All rights reserved.

 RSS Feed