|
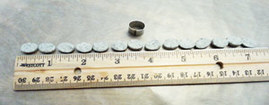
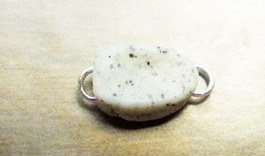
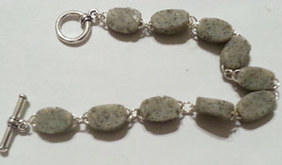
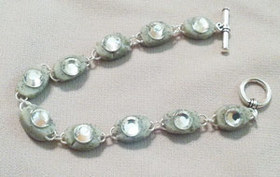
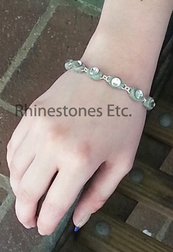
Does your jewelry collection have too many ordinary bracelets? How about adding some rhinestones to fit your unique style? After all, a girl can never have too many bracelets or too much bling, can she? Of course not! Here is a fun and quick way to glam up your wardrobe. For this project I used: Granite Sculpey clay Oval shaped cutter 15mm x 9mm 29 - 4 mm silver jump rings Jewelry pliers Toggle clasp (bar and ring) 30ss Crystal Rhinestones Gem tac Wax tipped tool or tweezers Roll out sculpey clay to 1/4 of an inch thick. Using your cutter, cut out 9 ovals measuring about 7 inches long. Insert a jump ring into the short end of each oval. Place on a white sheet of paper on a cookie sheet. Bake for 15 minutes in a 275 degree preheated oven. Remove from the oven and allow to cool. Using your jewelry pliers, open a jump ring, connect two ovals together and close the jump ring. Attach the ring and toggle at each end of the bracelet. Place a drop of Gem Tac about the size of the rhinestone in the middle of the oval. Using your wax tipped tool, pick up a rhinestone and gently press it into the glue drop. Continue adding rhinestones onto each oval. Allow to dry flat for 24 hours. Fabulous, easy and sparkly! What more can a girl want?
Rhinestones and wax tipped tool are available at: www.RhinestonesEtc.com Do you want to be notified of upcoming sales and new clearance, ? Would you like our free guide to Gluing Rhinestones without Panic? Subscribe to our newsletter by clicking here.
0 Comments
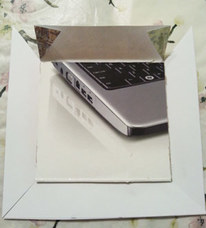
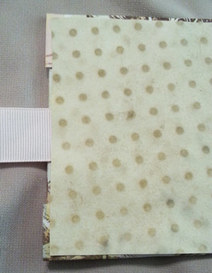
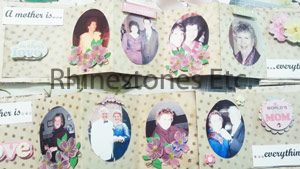
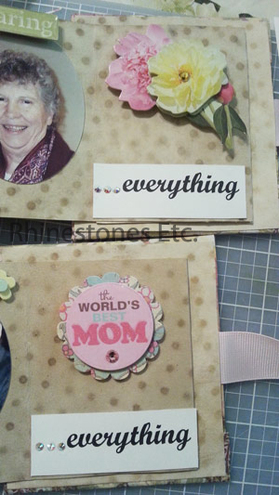
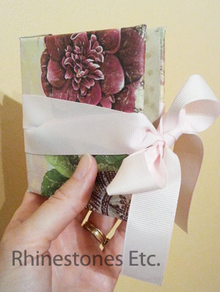
Mother’s Day was fast approaching and I was in need of a unique gift. My daughter and I were stumbling around the library one day, looking at craft books and we saw one we liked making memory books. So I set out making one for my mother and one for my mother in law. Although these are Mother’s Day themed, memory books make great gifts for birthday’s, graduations, anniversaries or thinking of you. For this project I used: Heavy cardboard cut to 4 x 5 Decorative scrapbook paper Ribbon Photo stickers Glue Scrapbook stickers Rhinestones Cardstock Instant coffee Pictures Begin by cutting your decorative scrapbook paper about 1 inch larger than your cardboard. Glue the cardboard to the white side of the decorative paper so that the print is facing outward. Cut corners on the diagonals. Fold the corners inward and glue down. For my end papers and pages, I coffee stained white card stock. To do this, place about ¼ cup of instant coffee on a cookie sheet. Pour boiling water into cookie sheet about halfway to the top edge of cookie sheet. Allow to cool to lukewarm. Place your card stock into the coffee water making sure to coat both sides with coffee water. Remove and place on a clean cookie sheet or to get the polka dots like I did, place on a pizza tray. To dry, you can use 1 of 2 methods. You can dry with a hair dryer or like I did place in the oven. Watch you papers carefully as you do not want to start a fire. Place in a preheated 200 degree oven for 5 -10 minutes again watching carefully and removing as soon as dry. There are several good YouTube videos on this if you need more instruction. Once your papers are dry, cut 2 pieces slightly smaller than your covers for your end pages. Cut 2 pieces of ribbon about 17 inches long and sandwiching the ribbon between the cover and end paper, glue the end paper to the cover. Next I used an accordion fold to make the pages, again, just slightly smaller than my covers. I glued 2 accordion pages together to get my 6 inside pages. Next I put my photos on the pages using acid free double sided photo stickers, scrap booking stickers and rhinestones. Here is a close up of the last page and you can see a bit clearer the rhinestones adding sparkle to the stickers : Allow to dry completely and then tie up with the ribbon. Sparkling memories to last a lifetime!
Rhinestones are available from: www.RhinestonesEtc.com Do you want to be notified of upcoming sales, new clearance, contests and giveaways? Would you like our guide to Gluing Rhinestones Without Panic? Subscribe to our newsletter by clicking here. |
KarenI have been adding bling for over 20 years. Through my projects, I hope you find inspiration. Categories
All
Archives
July 2024
|
Home About Policies Return Shipping
Contact Us Size Chart Privacy Products Reviews
Copyright 2024 Rhinestones Etc. All rights reserved.
Contact Us Size Chart Privacy Products Reviews
Copyright 2024 Rhinestones Etc. All rights reserved.

 RSS Feed