|
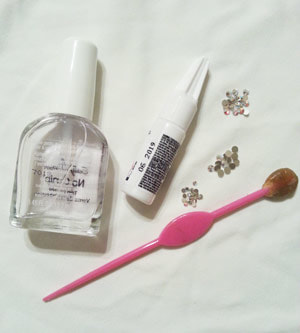
You’ve got that special occasion coming up and you want everything to be just right. Need the perfect nails to match your dress or just to add some eye-catching sparkle? Follow our easy steps for DIY nails with rhinestones. Steps For DIY Nails with Rhinestones First, you’ll need to gather a few supplies:
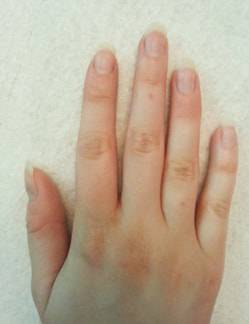
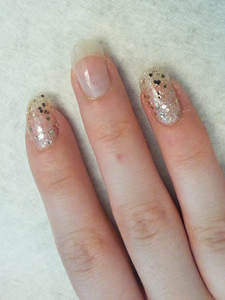
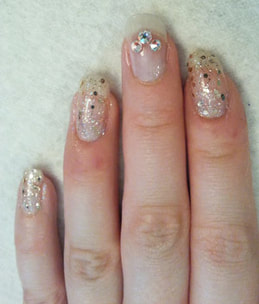
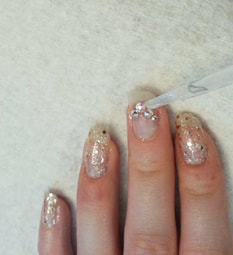
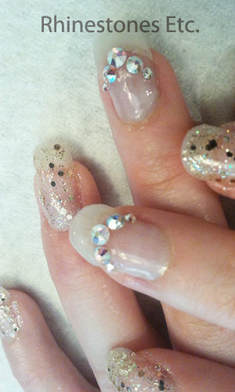
Always, begin with clean, unpolished nails. Furthermore, use a good, chip-free nail polish as a base coat. If you choose to use a cheaper product, the polish may chip underneath the rhinestone. Thus, you may lose your rhinestone even if you use strong nail glue. Apply your base coat allowing it to dry completely. When the nail polish is completely dry, place a drop of nail glue on your nail. You may want to use a toothpick to apply the glue to the nail. The nail glue I used was the glue thin and watery making it difficult to apply directly from the bottle. Then, using a wax-tipped tool, pick up a rhinestone and gently press it into the glue. Continue applying glue and rhinestones until you finish your design. After you have finished applying the rhinestones, allow the glue to dry. Now, you’ll need to use a top coat to seal the edges to help prevent the rhinestones from peeling off. You may want to use a small detailing brush to do this. Apply the top coat just around all the edges of the rhinestones. Avoid applying the top coat over the top of the rhinestones as this may dull them. Allow to dry. Simple and easy to do, yet, the results are stunning. You will look like a nail pro without even trying!
1 Comment
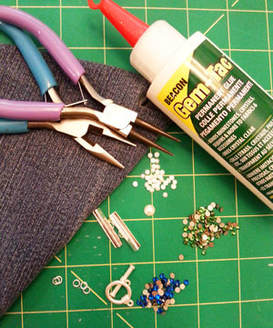
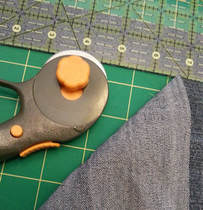
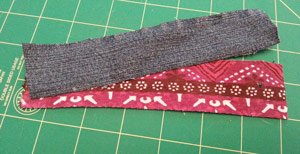
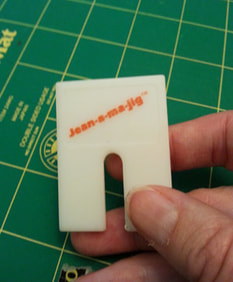
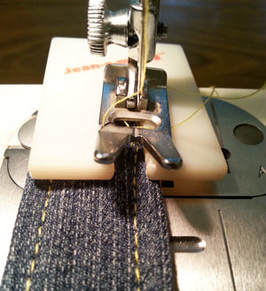
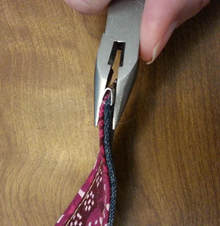
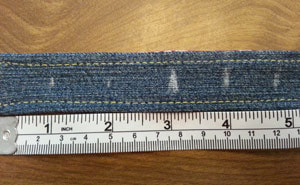
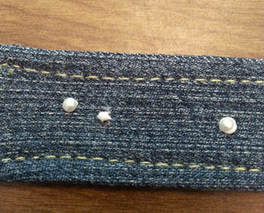
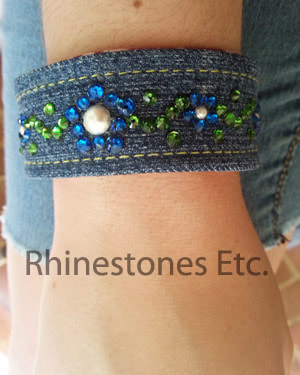
There is nothing worse than getting a hole in your favorite pair of jeans. Don’t throw them out! You can turn them into a stylish new denim and rhinestone bracelet. Accessorize Your Outfit with Rhinestone Jewelry Jewelry is an important part of any women’s wardrobe. The right piece can make you feel confident, beautiful, and stylish. while expressing your personality. When you accessorize with jewelry, you can add a pop of color giving your outfit a finished look. In particular, rhinestones jewelry adds some eye-catching sparkle. While a few years ago, women reserved rhinestone jewelry for formal wear, today you can wear rhinestones anytime. For example, add a chunky rhinestone necklace to your outfit to appear trendy. Or, stack a few rhinestone bracelets for an elegant and chic look. Moreover, many kinds of rhinestone jewelry are easy to make. So, you can make pieces inexpensively to fit your wardrobe. Below, we give instructions on how to make a casual, chic, rhinestone bracelet. Instructions to Make a Denim and Rhinestone Bracelet For this project I used: A pair of old jeans Scrap piece of cotton fabric Scissors (or cutting wheel and mat) Sewing machine (with jeans needle and yellow thread) 2 Ribbon clamps Jewelry pliers 3 -4 mm silver jump rings Toggle clasp White flat back pearls in sizes 34ss and 10ss Capri Blue rhinestones in sizes 16ss and 12ss Fern Green 12ss Rhinestones Gem Tac Wax tipped tool Begin by cutting a piece from your jeans 7 inches by 1.5 inches. Cut a piece the same size from the scrap of cotton fabric. Place the right sides of the fabric together. Using yellow thread and ¼ inch seam allowance, stitch one short end and both long ends together. Be sure to use a jeans needle. Clip the corners to reduce bulk and then turn the bracelet inside out. Fold under the short side raw edges to the inside and press with a hot iron. Sew a topstitch around the entire bracelet, ¼ if an inch from the edge. You might find it helpful to use a jean-a-ma-jig. The jean-a-ma-jig raises the presser foot making it easier to sew through thicker fabrics like denim. Insert one of the shorter ends of the cuff into a ribbon clamp and using pliers squeeze to clamp. Then do the same for the other end. Add a 4 mm jump ring to each ribbon clamp. Then add a jump ring to the toggle clasp and 2 jump rings to the bar part of the clasp. I chose a flower design with pearls at the center of the flower surrounded by Capri Blue rhinestones. In the center, I placed a white 34ss half pearl. Then I surrounded this by 5 evenly spaced 12ss rhinestones. Around these, I placed 16ss rhinestones. For the smaller flowers, I used 4 -10ss flat back white pearls surrounded by 5 evenly spaced 12ss rhinestones. I used the Fern Green 12ss rhinestones in a “wave” between the flowers with a single green rhinestone in between. Using a piece of chalk and a ruler, mark the center of the bracelet and then one-inch marks from the center to the edges. These marks will be where you glue the pearls. Place a drop of Gem Tac slightly smaller than the rhinestones on the bracelet. With the wax-tipped tool, pick up a pearl and gently press it into the glue drop. Gently press a rhinestone into the glue drop allowing some glue to ooze slightly around the edges of the pearl. This prevents the embellishment from peeling off. Continue gluing pearls and rhinestones Let your bracelet dry flat for 24 hours Super easy and fun! This is a great way to recycle those old jeans and make a stylish bracelet.
Rhinestones Etc. has a great selection of rhinestones in various size packages. We have fast shipping and great customer service. |
KarenI have been adding bling for over 20 years. Through my projects, I hope you find inspiration. Categories
All
Archives
July 2024
|
Home About Policies Return Shipping
Contact Us Size Chart Privacy Products Reviews
Copyright 2024 Rhinestones Etc. All rights reserved.
Contact Us Size Chart Privacy Products Reviews
Copyright 2024 Rhinestones Etc. All rights reserved.

 RSS Feed