|
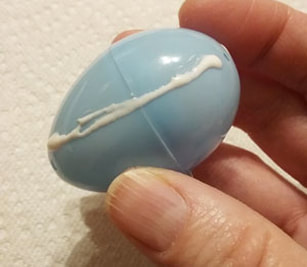
How to make a Rhinestone Easter Egg Door Decoration I love springtime with the warmer weather, longer daylight hours, arrival of robins and Easter eggs! Your door is the first thing that visitors see when they home to your house so why not make a cheerful first impression with a do it yourself Easter door hanging! For this project I used: Small plastic eggs (approximately 2 inches long) White lace Assorted colors 12ss rhinestones Gem tac Wax tipped tool or tweezers Craft wire 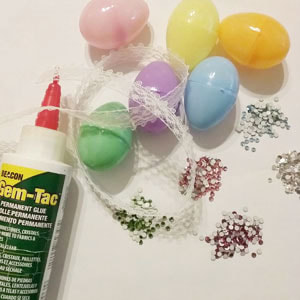 I used 6 little plastic eggs (approximately 2 inches in length) in assorted colors. Cut a piece of lace 5 ½ inches long for each egg you plan on using. Cut 6 more pieces if lace in the following lengths: 9, 10, 11, 12, 13 and 14 inches. 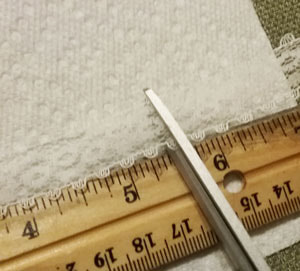 You can use a hot glue gun for adhering the lace if you wish but then use Gem Tac for gluing the rhinestones. Do not use a hot glue gun for gluing rhinestones. I used Gem Tac for gluing the lace. Glue the 5 ½ piece of lace the length of the egg on both sides. Do this for all the eggs and allow to dry.
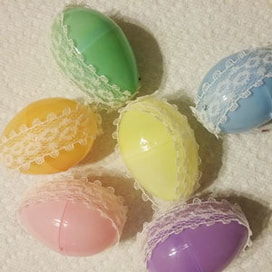
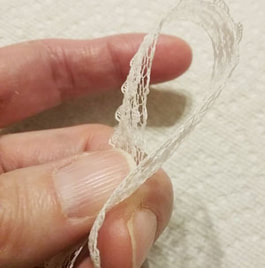
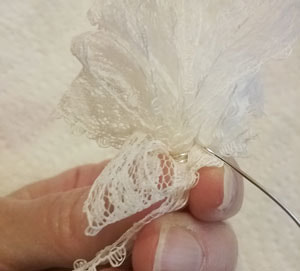
Glue the other piece of lace on the opposite side down the length and up the other side leaving a tail of lace at the top of the egg. Do this for all the eggs and allow to dry completely. 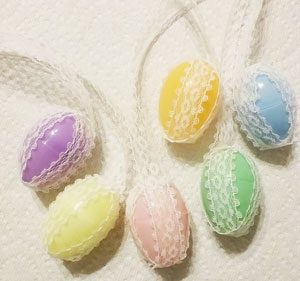 Embellish the eggs along the length of the lace using rhinestones. Place a drop of glue about the size of the rhinestone on the lace and using the wax tipped tool or tweezers pick up a rhinestone and gently press it into the glue. Glue should seep out the sides to form a seal. Continue gluing until all the eggs are embellished. Allow to dry for 24 hours. 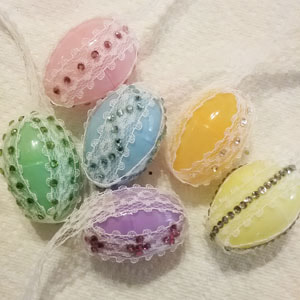 To make a bow, cut a piece of lace about 36 inches in length (if you like more loops in your bow, cut a longer piece). Leaving a tail of about 1 ½ inches, gather the ribbon into loops about 3 inches in length leaving a tail at the other end. Wrap the base of the bow with craft wire (about 5 inches in length) to secure leaving a “tail” of about 1 ½ inches of wire.
Starting with the egg with the longest lace tail, lay the lace pieces on top of one another from longest to shortest 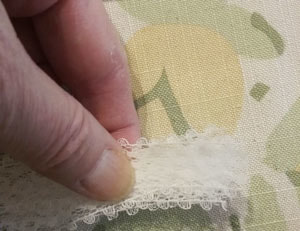 Secure the pieces together and to the bow using the tail of the wire on the bow. Wrap the wire around and tuck the ends in. 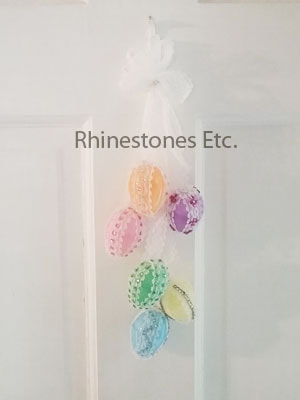 You now have the perfect ornament to welcome both visitors and Spring!
Rhinestones and wax tipped tool are available from: www.RhinestonesEtc.com
0 Comments
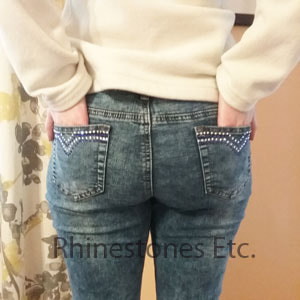
How to Glue Rhinestones to Jeans Are you tired of your same old boring jeans? Want to take your favorite pair and dazzle them up? Now’s your chance! Rhinestone jeans are easy to do, and the possibilities are endless! Create your initials, line the pockets or chose your favorite design. It’s up to you! For this project I used: A pair of jeans 12ss Crystal and Sapphire rhinestones Wax tipped tool Gem Tac 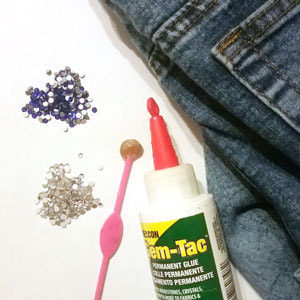 If you are using a brand-new pair of jeans, be sure to wash and dry them before embellishing them. Pick out a design. Even a simple straight-line design can really dress up a pair of jeans. My favorite glue for fabrics is Gem-Tac because it is water proof, dries clear and it easy to control the flow of glue. I planned on gluing 4 lines of rhinestones with a “v” in the middle across the back pocket. Using a piece of chalk, I marked the middle of the pocket to make sure I kept the design symmetrical. Lay the jeans as flat as possible. Squeeze a drop of glue slightly smaller than the rhinestone. 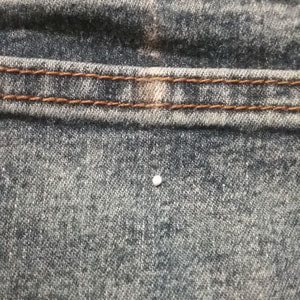 Using the wax tipped tool, pick up a rhinestone and gently press it into the glue. The glue should ooze out slightly from the sides to form a seal which keeps the rhinestone from peeling off. The glue will dry clear and you will not be able to see it unless close up. 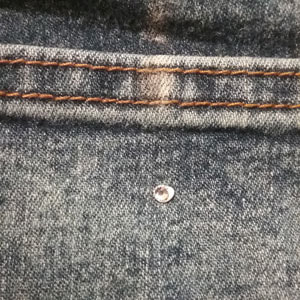 As you can see by the picture below, once the glue is dry, it is invisible. 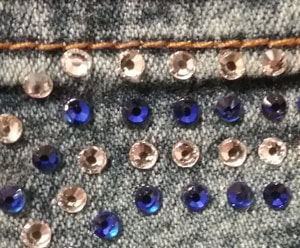 Continue gluing until your pattern is complete. Allow to dry flat for 24 hours.
Why spend lots money when you can easily create your own custom pair of jeans for a fraction of the price? With your new pair, you’re sure to turn heads.
Rhinestones and wax tipped tool are available from: www.RhinestonesEtc.com |
KarenI have been adding bling for over 20 years. Through my projects, I hope you find inspiration. Categories
All
Archives
July 2024
|


 RSS Feed
Home About Policies Return Shipping
Contact Us Size Chart Privacy Products Reviews
Copyright 2024 Rhinestones Etc. All rights reserved.
Contact Us Size Chart Privacy Products Reviews
Copyright 2024 Rhinestones Etc. All rights reserved.