|
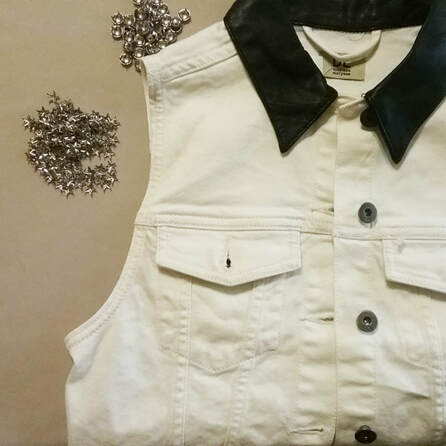
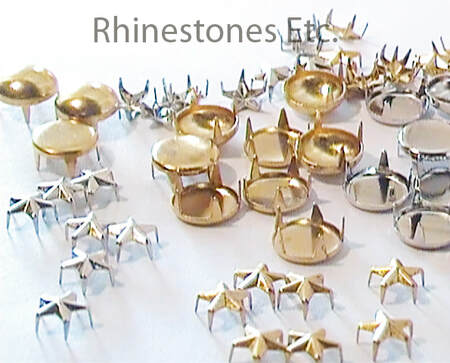
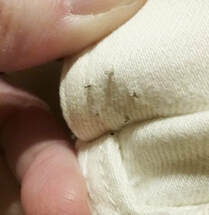
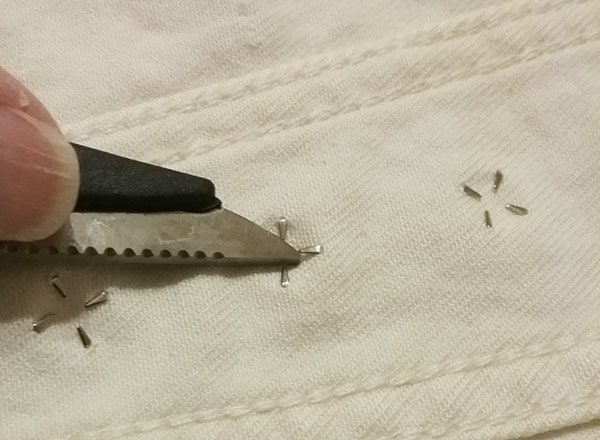
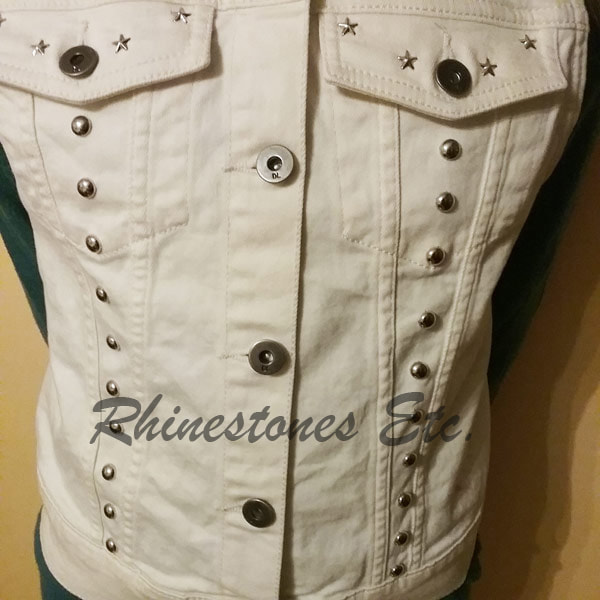
Denim vests can add that special touch to your casual outfit. While very cool looking, vests embellished with nailheads can break your budget. Afterall, you want to look fashionable without blowing your paycheck. What’s a girl to do? If you can find a vest on clearance you’ve won half the battle. Additionally, metal trim is relatively inexpensive and you can embellish the vest yourself. Then, you not only have fashionable clothing, you also save yourself a bundle of money. Read on to see how easy it is to do this yourself. For this project I used: 1 denim vest 6 silver star nailheads 20 Silver pearls nailheads Scissors/bedazzler Ruler To Begin with, What Are Nailheads? Nailheads are decorative metal trim with metal prongs. Moreover, they are available in many shapes, colors, sizes and differ in the number of prongs. Originally made for the furniture business to attach upholstery to wood, these metal pieces migrated to the fashion industry. You can buy a bedazzler for about $20 to attach them to clothing. Similarly, you can also just use the flat blade of a scissor or flat head screwdriver to bend the prongs. How to Use nailheads to Embellish a Denim Vest First, lay your vest out on a flat surface. Decide on how you want to arrange the nailheads on your garment. I put stars on the pocket flaps and I spaced the pearls 1 inch apart along the front. If you wish, you can measure and mark with chalk the placement of the trim. Now, pick up a nailhead and press it down so that the prongs penetrate the denim through to the other side. Flip your material over so that the prongs are facing up. Continue pressing from the front side so that the prongs have penetrated the material as far as possible. Next, bend the prongs using the flat end of the scissors. The prongs should lay flat and flush with the material. Continue adding the trim in this manner to your vest until you have completed your design. Wow Your Friends Your denim vest is finished! Once you see how easy it is, you won’t want to stop. You can add nailheads to baseball caps, jeans, or anywhere else you need a little bling. Experiment with different shapes and sizes to make your wardrobe truly unique. Do you need some metal trim to get started on bedazzling your wardrobe? Rhinestones Etc. has discount pricing on embellishments and excellent customer service. We love to help you sparkle!
0 Comments
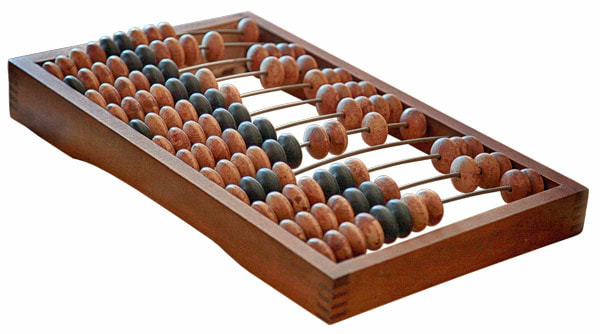
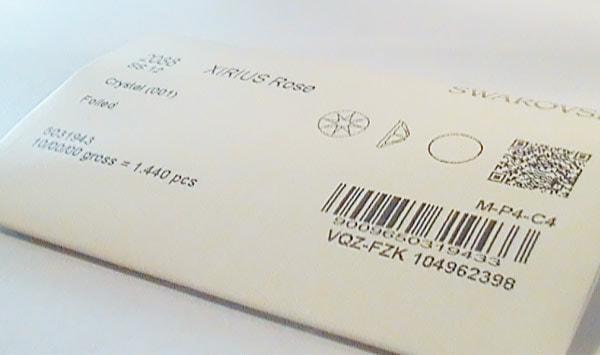
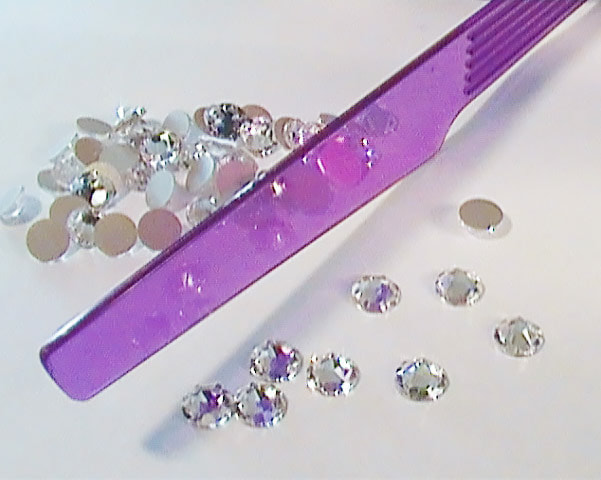
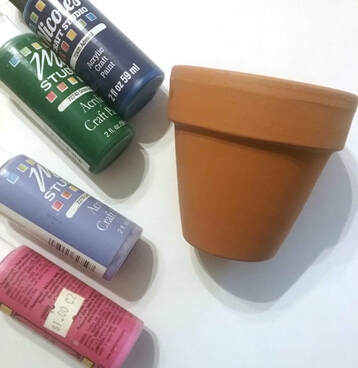
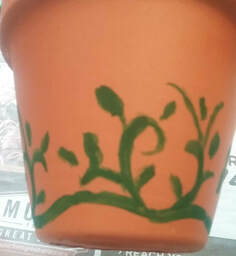
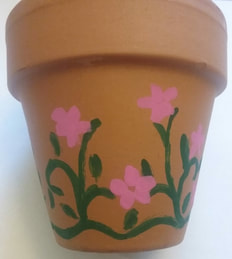
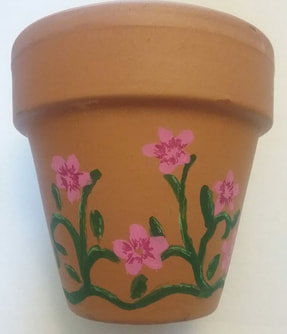
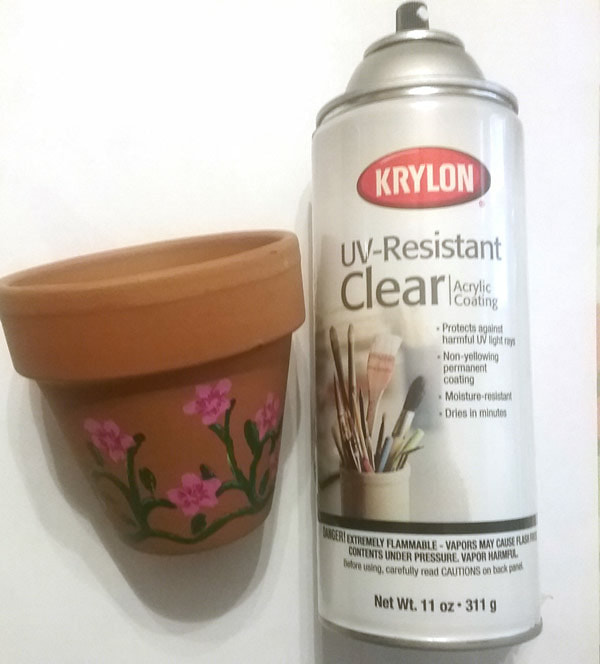
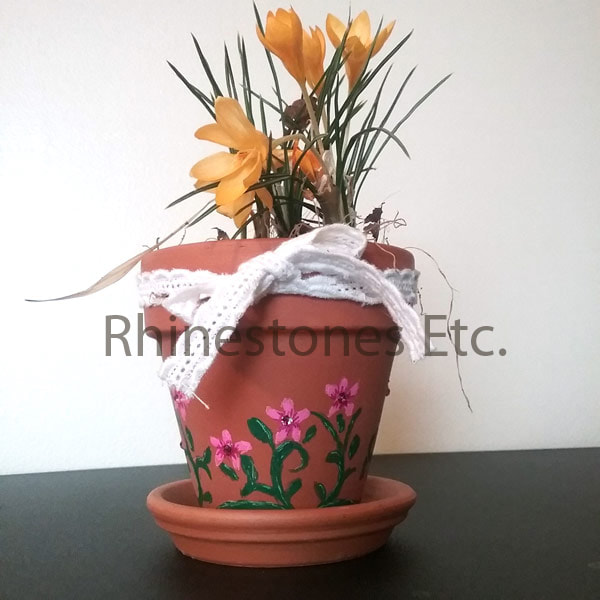
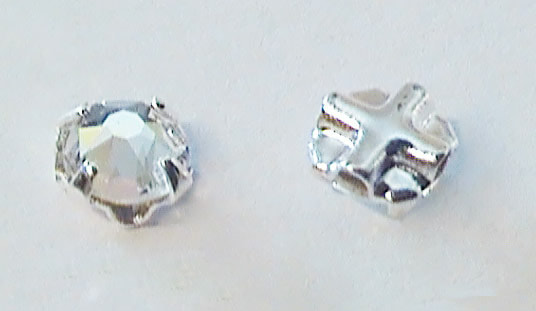
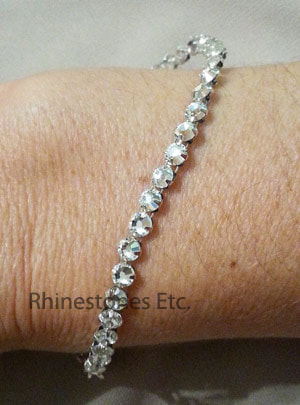
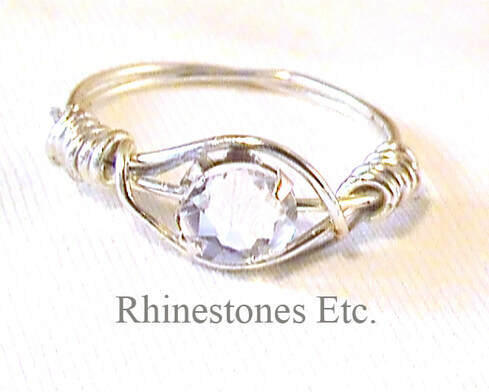
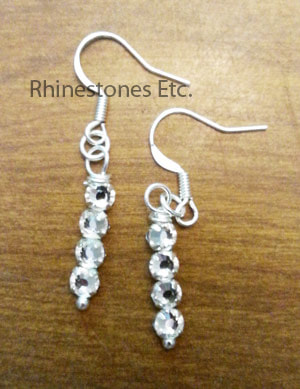
If you are you new to buying rhinestones, you may be confused with the package sizes. You may see listings for 1 gross or bulk. You need a lot of rhinestones but are unsure just how many pieces are in bulk rhinestone packages. Just how many is in 1 gross and how many are in a bulk? The History of the Gross The earliest manufacturers of rhinestones were European. Furthermore, the gross unit of measurement is also European. While the history of counting by dozens is ancient and lost in time, it probably originated with the Sumerians. Their mathematics was based on 60, of which 12 is a factor. It just so happens that a gross is 144 of which 12 is a factor. While many people used this unit of measurement, the government did not standardize it until the French revolution. Standardized measurements meant less fraud. This standardization then spread to the rest of the European continent. There is an Old French term, “grosse douzaine", meaning large dozen. Most likely over time, “grosse douzaine” became gross. So naturally, the original rhinestone manufacturers packaged their new product in the common unit of measurement, the gross. The Amount of Pieces in Bulk Rhinestone Packaging The famous name brand rhinestone manufacturers continue to use this unit of measurement. Manufacturers package rhinestones in 10 gross quantities or 1440 rhinestones, bulk rhinestone packaging. However, there are many customers who only need a smaller amount of rhinestones. Therefore, the rhinestone sellers need to divide the package into smaller portions. Generally, sellers divide rhinestones into denominations of 1440 or 144 pieces, one gross quantities. Buying bulk rhinestones is cheaper. Since many manufacturers package in 10 gross packages, there is no counting of rhinestones involved. The seller can ship the rhinestones out as packaged by the manufacturer. If you buy less than 10 gross, the rhinestone seller must count out the amount of rhinestones needed. Because there is less work when buying bulk rhinestones, the savings are passed on to the consumer. Where does this leave you when you are trying to buy rhinestones? First, you need to determine how many rhinestones you need for your project. Then you can determine how many gross you will need and whether you can buy bulk or loose rhinestones. Do you need a large or small quantity of rhinestones? Rhinestones Etc can help with a large selection of rhinestones and discount pricing. We have excellent customer service and love to help customers sparkle. And now you can get free shipping off your first purchase! Just click on the button above to get your coupon code! You’ve seen your first robin and the trees are beginning to bud. Daffodils are poking their heads up out of the ground and the air is getting warmer. Spring is not far away. And one of the biggest holidays of the springtime is Easter. While generally not as big as a holiday for gift giving as Christmas is, sometimes you do need a gift. Giving a DIY Easter gift brings that extra touch of personalization that a store bought gift can’t. For this project I used: A 3-inch diameter terra cotta pot Craft paint and paint brush Gel pens 12ss rhinestones E6000 Wax tipped tool or tweezers Krylon Acrylic Sealant How to Start your DIY Easter gift Even if you feel you are not artistic, this is an easy project. Don’t be intimidated by the painting aspect. The first thing I did was to paint the stems and leaves with green craft paint. Just paint a wavy line along the bottom and then stems that curl up from there. For the leaves, paint small green ovals shapes. Next, paint 5 small oval shapes in a circle to make the flowers. Allow to dry. Highlight areas of the stems and leaves with a light green gel pen. Pick a darker color gel pen to accentuate the inside of the flowers. Then, use a lighter color to accentuate the edge of the flower petals. Finally, spray these areas with a sealant like Krylon matte acrylic finish. Let dry. Gluing rhinestones to the terra cotta pot Pretty already as is, adding rhinestones will make this gift extra special! Squeeze a small amount of E6000 over a paper plate. Using a toothpick, scrape up a small amount of glue and apply it to the center of a flower. Now, using your wax tipped tool or tweezers, pick up a rhinestone and gently press it into the glue drop. For this project, I alternately used light rose and fuchsia color 12ss rhinestones. Once all the rhinestones have been glued, let dry for 24 hours. Fill the pot with dirt and your favorite springtime flowers. For an added touch, tie a piece of ribbon or lace around the top. This is such a cute idea, you may have to make one for yourself as well! Inexpensive and easy to make, this DIY Easter gift would also make a wonderful Mother’s Day or housewarming gift. Do you need rhinestones to get you started on your project? Rhinestones Etc. has discount prices on rhinestones and excellent customer service! And now get free shipping off your first purchase! Simply click the link above to get your coupon code! If you are new to rhinestones, you know the choices can be overwhelming! Even with just sew on rhinestones they are different types. Most have predrilled holes on the ends of the rhinestones to make them easy to sew. Simply sew through the holes to attach the rhinestone. However, one type of sew on rhinestone is different; it has a metal setting attached. This rhinestone, called a Rose Montee, has cross channels underneath in the setting. Using Rose Montees gives you the look of a metal setting without prongs piercing through your clothing material. A needle can be easily threaded through the cross channels to sew to your clothing. But one of the most exciting uses is in jewelry design. Although primarily manufactured as a sew on rhinestone, Rose Montees are also great for jewelry makers. Depending in the gauge of the wire, either 1 or 2 wires can be threaded through the cross channels. How to Use Rose Montees in Jewelry Making The underneath cross channels make Rose Montees ideal for jewelry making. Simple or elaborate patterns can be used to make a variety of rhinestone jewelry pieces. Even if you are not an experienced, you can make some simple jewelry with Rose Montees. Use two pieces of thin flexible wire to thread through the channels. Loop the ends and hold together with crimp beads. Attach a clasps and you have a tennis style bracelet. Larger size Rose Montees can be threaded with 20-22 gauge wire and then wrapped to make a ring. Try different wire wraps and different size rhinestones for a different look. Let’s not forget about earrings! Thread a head pin through the cross channels. Make a loop and attach a jump ring and earring wires for a pair of earrings. For a slightly different look, use several different sizes. Set your imagination free and see what you can come up with! Rose Montees are ideal for so many of your jewelry making projects. Do you need some Rose Montees to get started on your next project? Rhinestones Etc can help! With discount prices, excellent customer service, and a great selection of embellishments, we want to see you sparkle! And now get free shipping off your first purchase from Rhinestones Etc! Just click on the button above to get your coupon code! |
KarenI have been adding bling for over 20 years. Through my projects, I hope you find inspiration. Categories
All
Archives
July 2024
|
Home About Policies Return Shipping
Contact Us Size Chart Privacy Products Reviews
Copyright 2024 Rhinestones Etc. All rights reserved.
Contact Us Size Chart Privacy Products Reviews
Copyright 2024 Rhinestones Etc. All rights reserved.


 RSS Feed