|
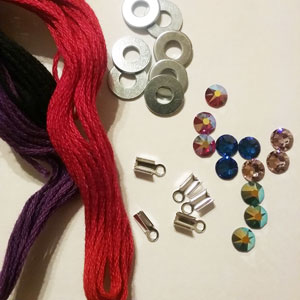
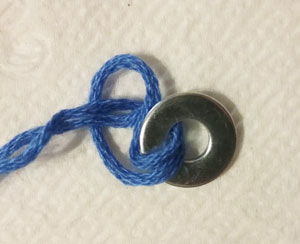
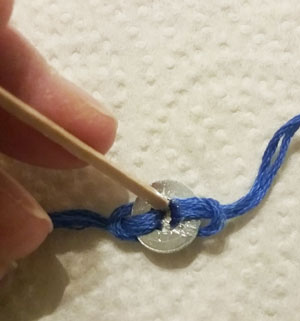
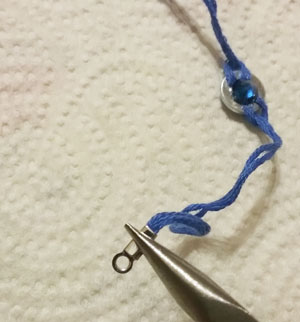
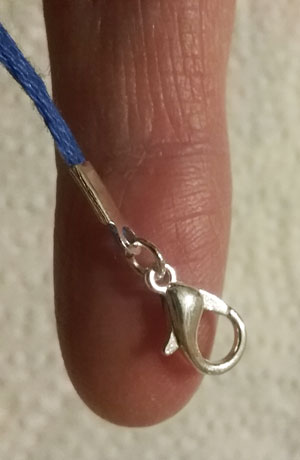
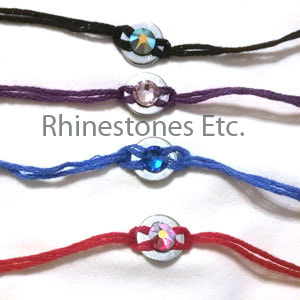
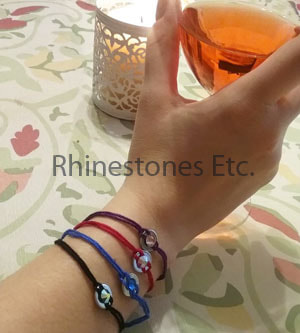
How to Make a Rhinestone Washer Bracelet Christmas has passed, you’ve rung in the new year and now it’s January, freezing and icy. Need a little bling to put some sparkle back in your day? This rhinestone bracelet takes on the jewelry washer craze in a new and sparkly way. For this project I used: Washer size 8 (12 mm) E6000 Embroidery thread (any color to match rhinestones) 30ss rhinestones (any color to match embroider thread) Silver fold over crimp ends 6 mm jump rings Silver lobster clasps Jewelry pliers Cut 2 pieces of embroidery thread 8 inches long. Use all six strands of the embroidery thread. Fold the thread in half to make a loop. Thread the loop through the hole in the washer and then thread the ends through the loop to secure to washer (a cow hitch knot). Repeat on the other side. With a toothpick, spread E6000 on the backside of a 30ss rhinestones and glue to the front of the washer. Allow a few minutes for the glue to set, then flip the washer over and apply a generous amount of E6000 in the hole of the washer/bottom of the rhinestone to secure. Let dry for 24 hours. Trim the ends of the embroidery thread. My bracelets fit comfortably at 7 inches, so I trimmed the ends so that my bracelets measured 7 inches including the length of the findings. Place the end of the thread in the fold over crimp ends. Be sure all the threads are underneath the first fold and then using the pliers, bend the first end over your thread end. Fold the second end over to secure your embroidery thread. Repeat on the other side. Attach a lobster clasp at one end of the bracelet with a jump ring. Look at how cute these diy washer bracelets are! You can now sparkle your way through the year with your own unique washer bracelet.
Rhinestones are available from: www.RhinestonesEtc.com
0 Comments
Your comment will be posted after it is approved.
Leave a Reply. |
KarenI have been adding bling for over 20 years. Through my projects, I hope you find inspiration. Categories
All
Archives
July 2024
|
Home About Policies Return Shipping
Contact Us Size Chart Privacy Products Reviews
Copyright 2024 Rhinestones Etc. All rights reserved.
Contact Us Size Chart Privacy Products Reviews
Copyright 2024 Rhinestones Etc. All rights reserved.

 RSS Feed