|
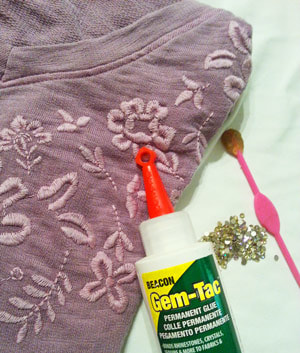
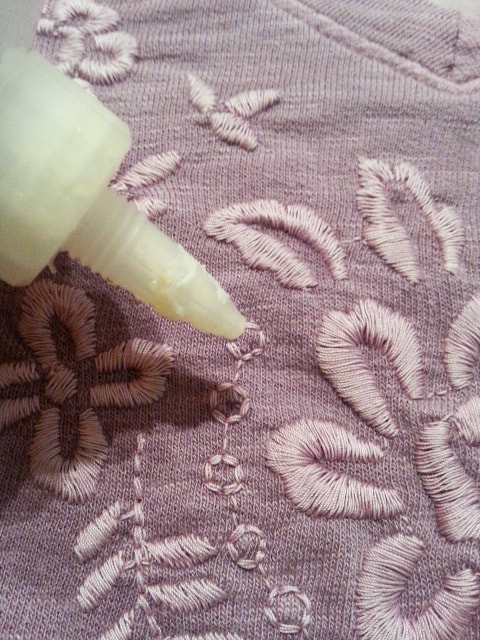
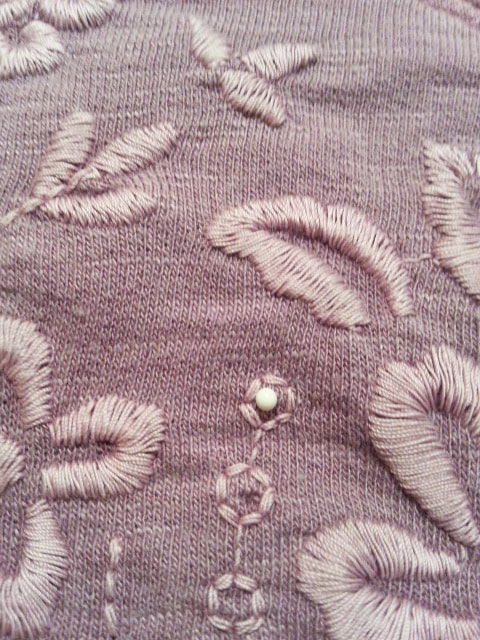
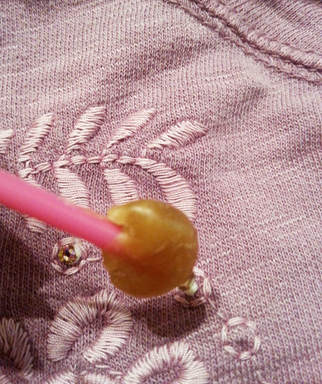
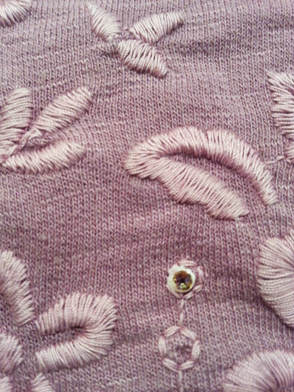
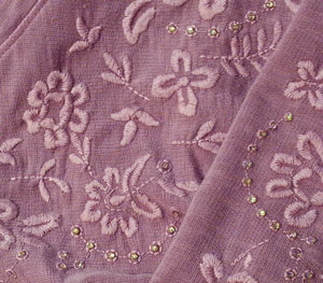
How to glue rhinestones Want to feel beautiful and confident even if you buy clothes off the rack? Anything can be enhanced by adding rhinestones. Embellish an ordinary shirt off the rack, add your own style, and it will be uniquely you! For this project I used: 1 shirt 12ss Luminous Green rhinestones Gem Tac Wax tipped tool The Luminous Green rhinestone is a pale green with underlying lavender so depending how the light hits the rhinestone it sparkles green or pale purple. The shirt I want to rhinestone is lavender with decorative embroidery. I want to add sparkle while highlighting certain areas of the shirt. The underlying lavender would blend with the color of the shirt while adding sparkle and the pale green would highlight the sections of embroidery I want to draw attention to. This is often how I choose what colors of rhinestones to use. Choosing a rhinestone the same color as your shirt will add sparkle while choosing a contrasting color adds highlight and sparkle. I also chose a smaller size rhinestone because I wanted to add just a small amount of sparkle. Pre-wash and dry your shirt before you begin. Lay your shirt on a flat surface. My shirt has small circles of embroidery that the rhinestone fits inside and this is where I chose to rhinestone. Place a drop of glue slightly smaller than the rhinestone on your shirt. Using a wax tipped tool or tweezers, pick up a rhinestone and place it in the glue drop, gently pressing down. Some of the glue should seep out from the edges. This is perfectly fine as it creates a seal and helps prevent the rhinestone from peeling off. Continue gluing rhinestone and then allow to dry flat for 24 hours. Just the perfect amount of sparkle and color to catch attention without overpowering. This shirt is great for everyday wear!
Rhinestones and wax tipped tool are available from: www.RhinestonesEtc.com
0 Comments
Your comment will be posted after it is approved.
Leave a Reply. |
KarenI have been adding bling for over 20 years. Through my projects, I hope you find inspiration. Categories
All
Archives
July 2024
|
Home About Policies Return Shipping
Contact Us Size Chart Privacy Products Reviews
Copyright 2024 Rhinestones Etc. All rights reserved.
Contact Us Size Chart Privacy Products Reviews
Copyright 2024 Rhinestones Etc. All rights reserved.


 RSS Feed