|
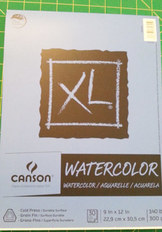
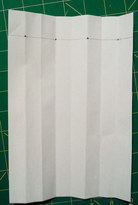
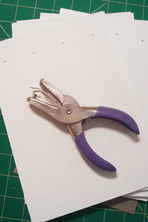
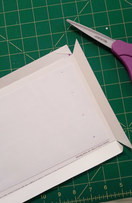
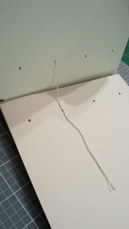
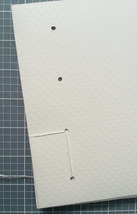
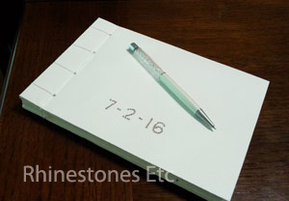
Do it yourself weddings are the current rage not only because you can save yourself money but also because your personality can shine through your handmade items. It is a way to make the wedding your own and fit your specific theme. For this project I used: 1 watercolor book White card stock Hole punch Embroidery thread Sewing needle 6ss Crystal Rhinestones Gem Tac Wax tipped tool or tweezers I purchased this 9 x 12 watercolor book at my local craft store. You can use this size, buy a smaller watercolor book or cut the pages down as I did. You will want to save both the cover and back for your book. Separate the pages. Using one of the sheets, fold in half lengthwise 3 times to make a template for your binding holes. Draw a line 1 inch from the short end and starting with the first fold make a mark and skip to every other fold marking your template like the picture below. You should have 4 dots drawn. Using this template, punch holes in the covers and all pages. Next, cut a piece of card stock about 1 inch larger around all edges than your cover. Center the cover on the card stock and glue in place. Cut the corners on the diagonal, fold the corners to the inside and glue down. Then glue the sides down to the inside of the cover. Cut a piece of white card stock slightly smaller than the cover and glue to the inside for the end paper. You are now ready to bind your book. There are several great videos on Youtube showing several different types of binding. I followed this one: https://youtu.be/j-r6c_trSxY. I used white embroidery thread. Measure the thread about 5 times the short length of the book. Thread a sewing needle (I used all 6 strands) and beginning in the middle of the book, sew from the inside to the front leaving a tail of about 5 inches. Sew up to the front of the book and then come around to the bottom and come up through the same hole. Sew to the hole on the bottom right down through the book, around the edge and back through the same hole. This time go around the long edge down through the front to the back. Sew across to the top left coming up the first hole you started in. Sew to the top left go around the edge and back into the hole. Sew to the left coming up to the front around the edge and up through the topmost hole. Go around the longest edge and sew down into the topmost hole. Come up through the bottom and sew across to the second hole from the top. Sew from the bottom up through the hole you started in bringing the needle to the middle to where your beginning end is. Make sure your binding is tight and then tie the two ends together. Using a ruler on the top and bottom as a guide, I glued 6ss crystal along the bottom front with a wedding date. Place a drop of Gem Tac about the size of the rhinestone on the cover and using the wax tipped tool, pick up a rhinestone and gently press it into the glue drop. You can also put your names, initials or hearts to personalize it. Now you have a unique, one of a kind memento to remember your special day.
Rhinestones are available from: www.RhinestonesEtc.com
0 Comments
Your comment will be posted after it is approved.
Leave a Reply. |
KarenI have been adding bling for over 20 years. Through my projects, I hope you find inspiration. Categories
All
Archives
July 2024
|
Home About Policies Return Shipping
Contact Us Size Chart Privacy Products Reviews
Copyright 2024 Rhinestones Etc. All rights reserved.
Contact Us Size Chart Privacy Products Reviews
Copyright 2024 Rhinestones Etc. All rights reserved.

 RSS Feed