|
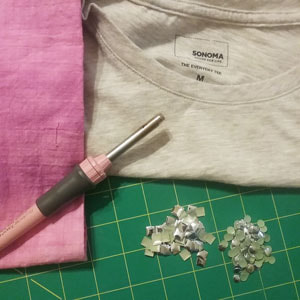
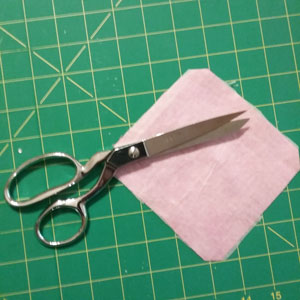
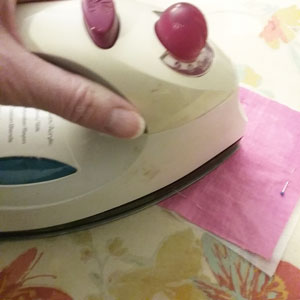
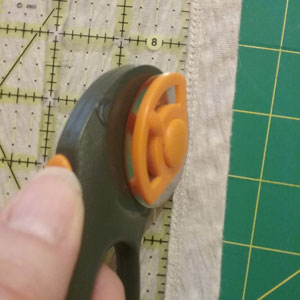
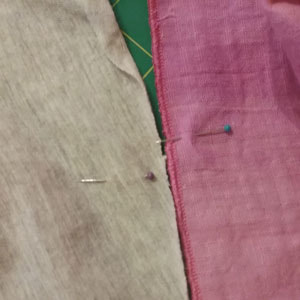
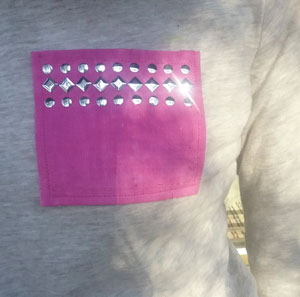
Embellishing with metal studs Some time ago, I posted instructions on how to embellish a pair of leggings with metal studs. After the project, I stored the leggings at the bottom of my drawer since I had nothing to wear with them. Months later, I found a plain tee shirt and with a little creativity, I was able to create the perfect embellished shirt to pair with my leggings. While this product requires sewing skills, it is still basic enough for beginners to learn. For this project I used: Tee shirt Thin fusible facing Sewing maching with single and twin needle and thread Scrap material about 1/2 yard Metal studs: 6 mm silver round and 7 mm silver square Hot fix tool or iron For the bottom two pieces cut the same shape whether you want square edges or rounded. For the length cut each piece about 4 inches longer than the width shirt and about 10 inches in length (or whatever length you want to add to the shirt). Cut a square piece for the pocket. Cut a piece of fusible facing the same size as the pocket. Following the manufacturer's instructions use a hot iron without steam to fuse the facing to the pocket. Fold down the pocket ¼ of an inch from the top part of the pocket and stitch. Fold ¼ inch at the bottom and sides and baste into place. Position the pocket on the shirt and baste into place. Check the position of the pocket to make sure it is straight and in the correct position and stitch into place. Remove all basing stitches. Cut the bottom part of the tee shirt off along the hem line. Using a serger or narrow zigzag stitch edge the bottom piece to prevent fraying. If you prefer, you can hem it. Sew the two bottom pieces together from the top part that will be stitched to the shirt to about 4 inches down, sewing in reverse at the bottom to lock the stitching. Mark the center of both the bottom piece and front and back of the tee shirt. With right sides together, pin the bottom piece to the tee shirt, matching side seams. The bottom piece should be bigger as we cut it 4 inches longer than the tee shirt. You will be stretching the tee shirt as you sew to match up with the center and side seams. Baste into place. Baste again about ¼ of an inch above the first basting line. The next step involves a double needle which when sewn, will allow the tee shirt to stretch without breaking the thread. If you use a straight stitch, the thread will break as the tee shirt stretches. Using the double needle, sew on the top (right) side of the tee shirt between the basting stitches, tucking the seam underneath towards the top of the shirt. I wanted to incorporate the same design from the leggings on to the pocket of the shirt. I positioned some square and round metal studs in a similar pattern to the leggings. Use the flat attachment for the hot fix tool and heat up. Gently press down on the metal studs for 12-15 seconds. Repeat process. If you are using an iron, set iron to the hottest setting without steam. Place a piece of white paper over design to prevent scorching. Gently press down for 10-15 seconds. DO NOT SLIDE the iron as this may move your metal studs. Allow to cool. Once too short, my top is now the perfect length to pair with leggings, not to mention that it matches my outfit perfectly! But don't stop there! Why not experiment and combine this shirt with your favorite pair of jeans for a fresh and edgier look.
Metal studs are available from: www.RhinestonesEtc.com
0 Comments
Your comment will be posted after it is approved.
Leave a Reply. |
KarenI have been adding bling for over 20 years. Through my projects, I hope you find inspiration. Categories
All
Archives
July 2024
|
Home About Policies Return Shipping
Contact Us Size Chart Privacy Products Reviews
Copyright 2024 Rhinestones Etc. All rights reserved.
Contact Us Size Chart Privacy Products Reviews
Copyright 2024 Rhinestones Etc. All rights reserved.



 RSS Feed